Documenting a Qt project with QDoc
When I needed to generate documentation for my projects, I used Doxygen. It’s a quite useful tool that parses specially formated comments in your project’s source code to produce documentation pages for it. Mostly I used it to document my Qt projects.
To my shame, I didn’t know that Qt has such a tool out-of-the-box - it is the QDoc. In this article I’ll show you how to document a custom QML type (Qt Quick control) with QDoc and also how to make the result look a bit less dull.
QDoc requires a configuration file to understand how to theat your project: where to find sources (and what types of sources should be documented), images, etc. In this config you can also specify additional information, like what external CSS to apply.
Here’s an example of my config:
# where your source files are (here it's just the root directory)
sourcedirs = .
# where your header files are (probably in the same place as source)
headerdirs = .
# where you store images that are used in your qdoc comments
imagedirs = .

# what kind of sources should be processed
sources.fileextensions = "*.cpp *.qml"
# what kind of headers should be processed
headers.fileextensions = "*.hpp"

# where to put the result
outputdir = ./doc/
# what format to use for generating documentation
outputformats = HTML

# path to the CSS files if you would like to use any (here it's the current directory)
HTML.stylesheets = style.css
# the string that actually includes the CSS into documentation file
HTML.headerstyles = "<link rel=\"stylesheet\" type=\"text/css\" href=\"style/style.css\"/>\n"
# what to append to every page after header
HTML.postheader = "<p class=\"header\"><small>[My awesome documentation]</small></p><hr/>"
# what to append to every page after the content
HTML.footer = "<hr/><p class=\"footer\"><small>[some footer and whatnot information]</small></p>"
Sometimes qdoc behaves like a whimsy princess: if you would omit some configuration string or add an empty string between two “related” strings, it won’t produce any result. But I can’t catch it to reproduce any of those issue guaranteed, so just keep in mind that something like this can happen.
Full list of HTML variables is here, but it doesn’t contain the HTML.headerstyles variable, and without it the CSS file will only be copied to the output directory and will not be applied to pages. Although, this variable is mentioned in another article, so it’s kinda documented, but its whereabouts can cause some troubles, like it was in my case - only having discovered this page I finally understood what exactly was missing from my config.
Ok, that is your configuration file for qdoc utility. Save it to your project directory.
Now you need to write special comments in your source files. Those comments will be used by qdoc to generate the documentation. Use this article to master writing documentation comments. By the way, you can use QDoc not only for C++ code, but for QML code as well.
I’ll show you an example of documenting a new QML type (a bit customized TextInput):
import QtQuick 2.7
import QtQuick.Window 2.0

/*!
   \qmltype AwesomeUIControl
   \brief A customized TextInput control

   This control extends standard TextInput by adding background color,
   paddings, font styles and other stuff. On the screenshot below
   you can see it as an input field with green background.

   \image awesomeuicontrol.png

   \section1 Setting default text and capitalization

   To set the default text, auto-capitalized input and password mode - use the properties:

   \qml
   AwesomeUIControl {
       text: "some text"
       echoMode: TextInput.Password
       capitalization: Font.AllUppercase
   }
   \endqml

*/
Rectangle {
    id: ti_border
    width: parent.width
    height: ti.contentHeight * 1.5
    color: ti.activeFocus ? "#DCFFD3" : "#F2FDEF"

    /*!
        Default text to be placed to the field.
    */
    property alias text: ti.text
    /*!
        Internal TextInput.
    */
    property alias input: ti
    /*!
        Echo mode for the field (normal, password, etc)
    */
    property alias echoMode: ti.echoMode
    /*!
        Capitalization mode (all letters are small, big, etc)
    */
    property alias capitalization: ti.font.capitalization

    TextInput {
        id: ti
        leftPadding: 15
        rightPadding: 15
        width: parent.width
        anchors.verticalCenter: parent.verticalCenter
        font.pointSize: 18
        font.family: "Verdana"
        font.italic: ti.activeFocus ? true : false
        clip: true
    }
}
As you can see, I used specially formated comments to create a simple documentation for my new type AwesomeUIControl (that is stored in AwesomeUIControl.qml file).
If you would like to include some images in your documentation, like I did, don’t forget to add the imagedirs configuration variable, and also beware, that qdoc will use the original size of images and you can’t specify any scaling for them, so you have to prepare your images with the right width and height beforehand.
Alright, you have a configuration file for qdoc, you have special comments in your sources - now you’re ready to generate some documentation. Open a command line in your project directory and execute:
qdoc config.qdocconfOf course, if qdoc is not in your system environment, then use /path/to/your/Qt/5.8/clang_64/bin/qdoc.
Anyway, it should produce something like this:
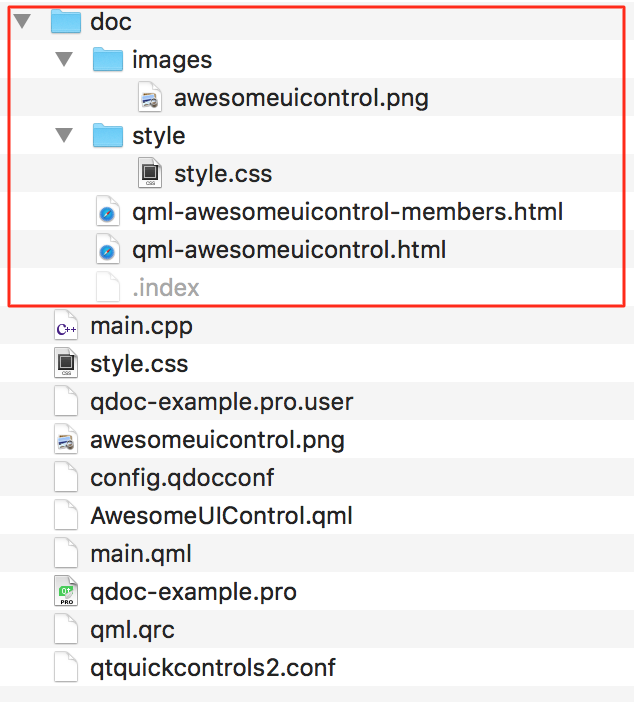
You can open HTML files in web-browser and see the result. It is a good enough already, but default pages look so boring - let’s add some simple styling to make them look more lively.
Here’s what I’ve put inside the style.css file:
body {
   font-family: "Verdana";
   font-size: 14px;
   max-width: 80%;
   margin: auto;
}

h1, h2, h3 {
   color: green;
}

div.sidebar {
    float: right;
}

pre {
    padding: 15px;
}
div.qmlproto {
    padding-left: 15px;
    padding-right: 15px;
}
pre, div.qmlproto {
    font-family: "Courier New";
    font-size: 20px;
    margin-left: 2em;
    background-color: #F2F2F2;
}

hr {
    margin-top: 2em;
    margin-bottom: 2em;
}

p.header {
    margin-bottom: -1em;
}
p.footer {
    text-align: right;
    margin-top: -1em;
}
And that’s how my documentation pages nicely look like after such a simple styling:
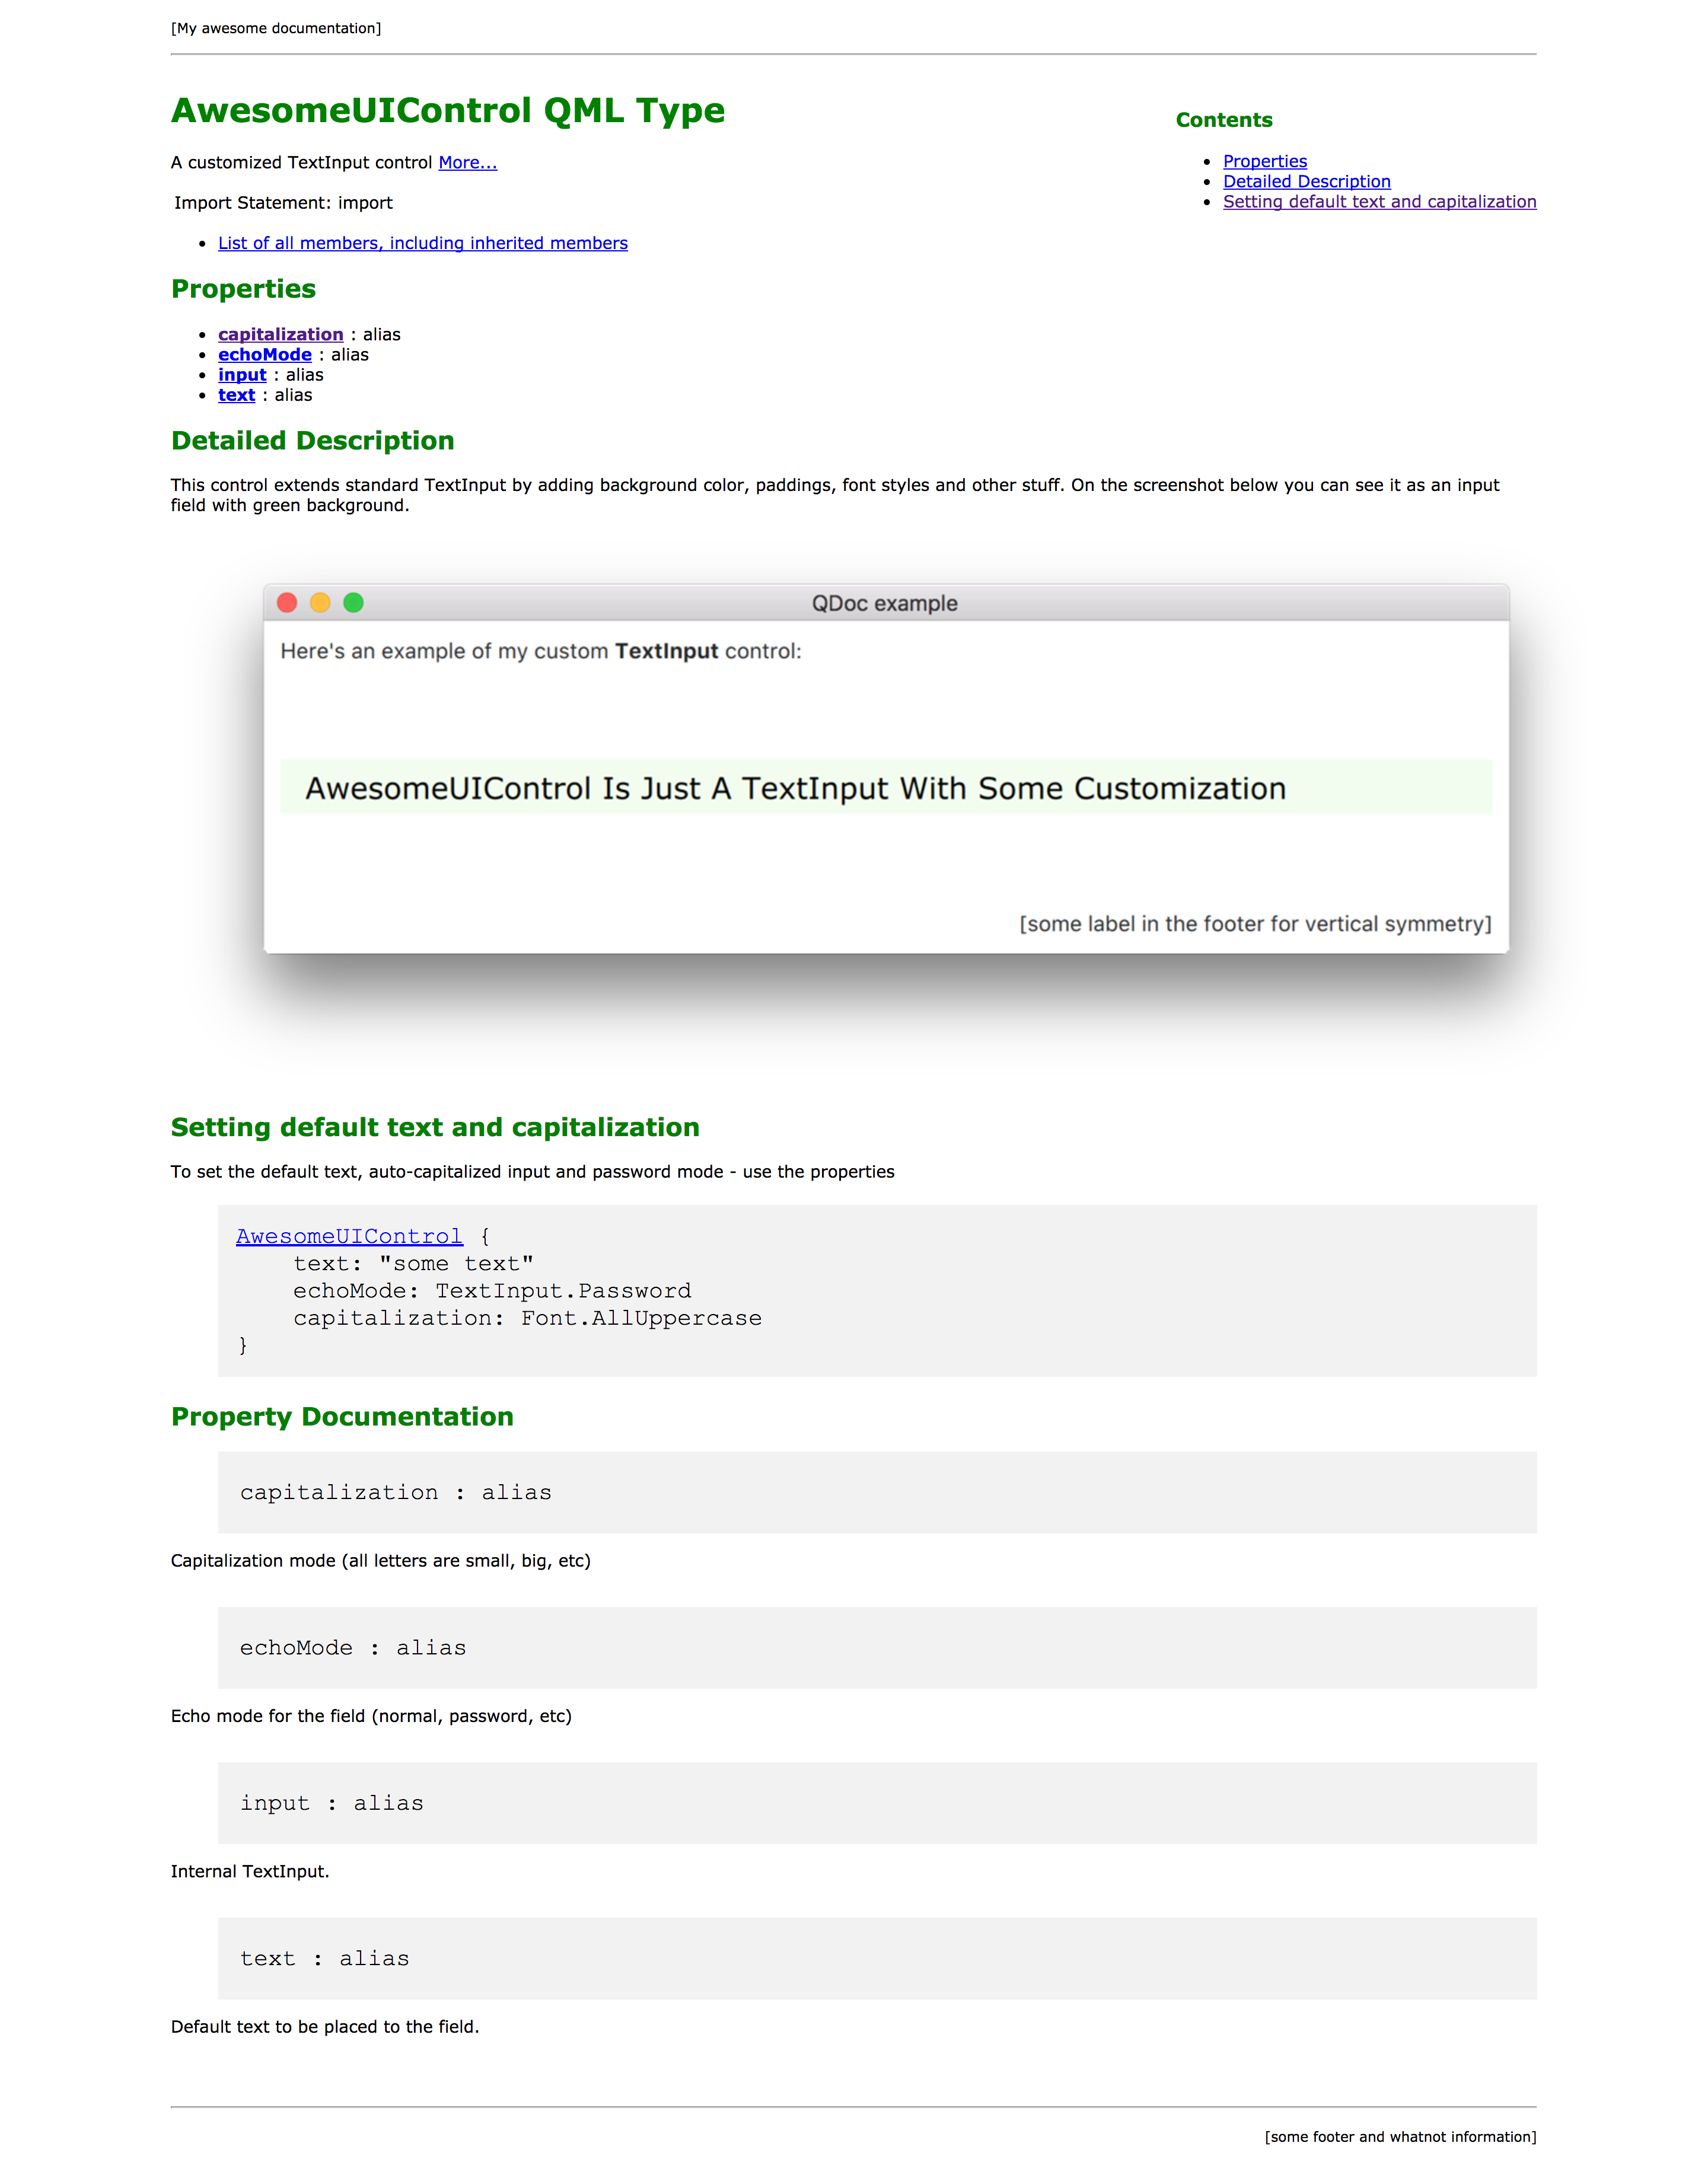
Yeah, a bit stupid to show a screenshot of a webpage, but still.
Here’s a repository with the project including generated documentation pages: https://github.com/retifrav/qdoc-example