Qt for iOS - setting up development environment
I already wrote about Qt for Android, and today it is turn for iOS.
And this article will be much shorter.
…Because unlike the Android’s fucking mess with JDK/JRE/SDK/NDK/Ant/Gradle/ADB/FUCK/KNOWS/WHAT/ELSE, Qt for iOS just works out of the box.
Install Qt for iOS
So, first thing you need is a Mac OS, because normally iOS development can be done only there.
Then you’ll need to install Xcode.
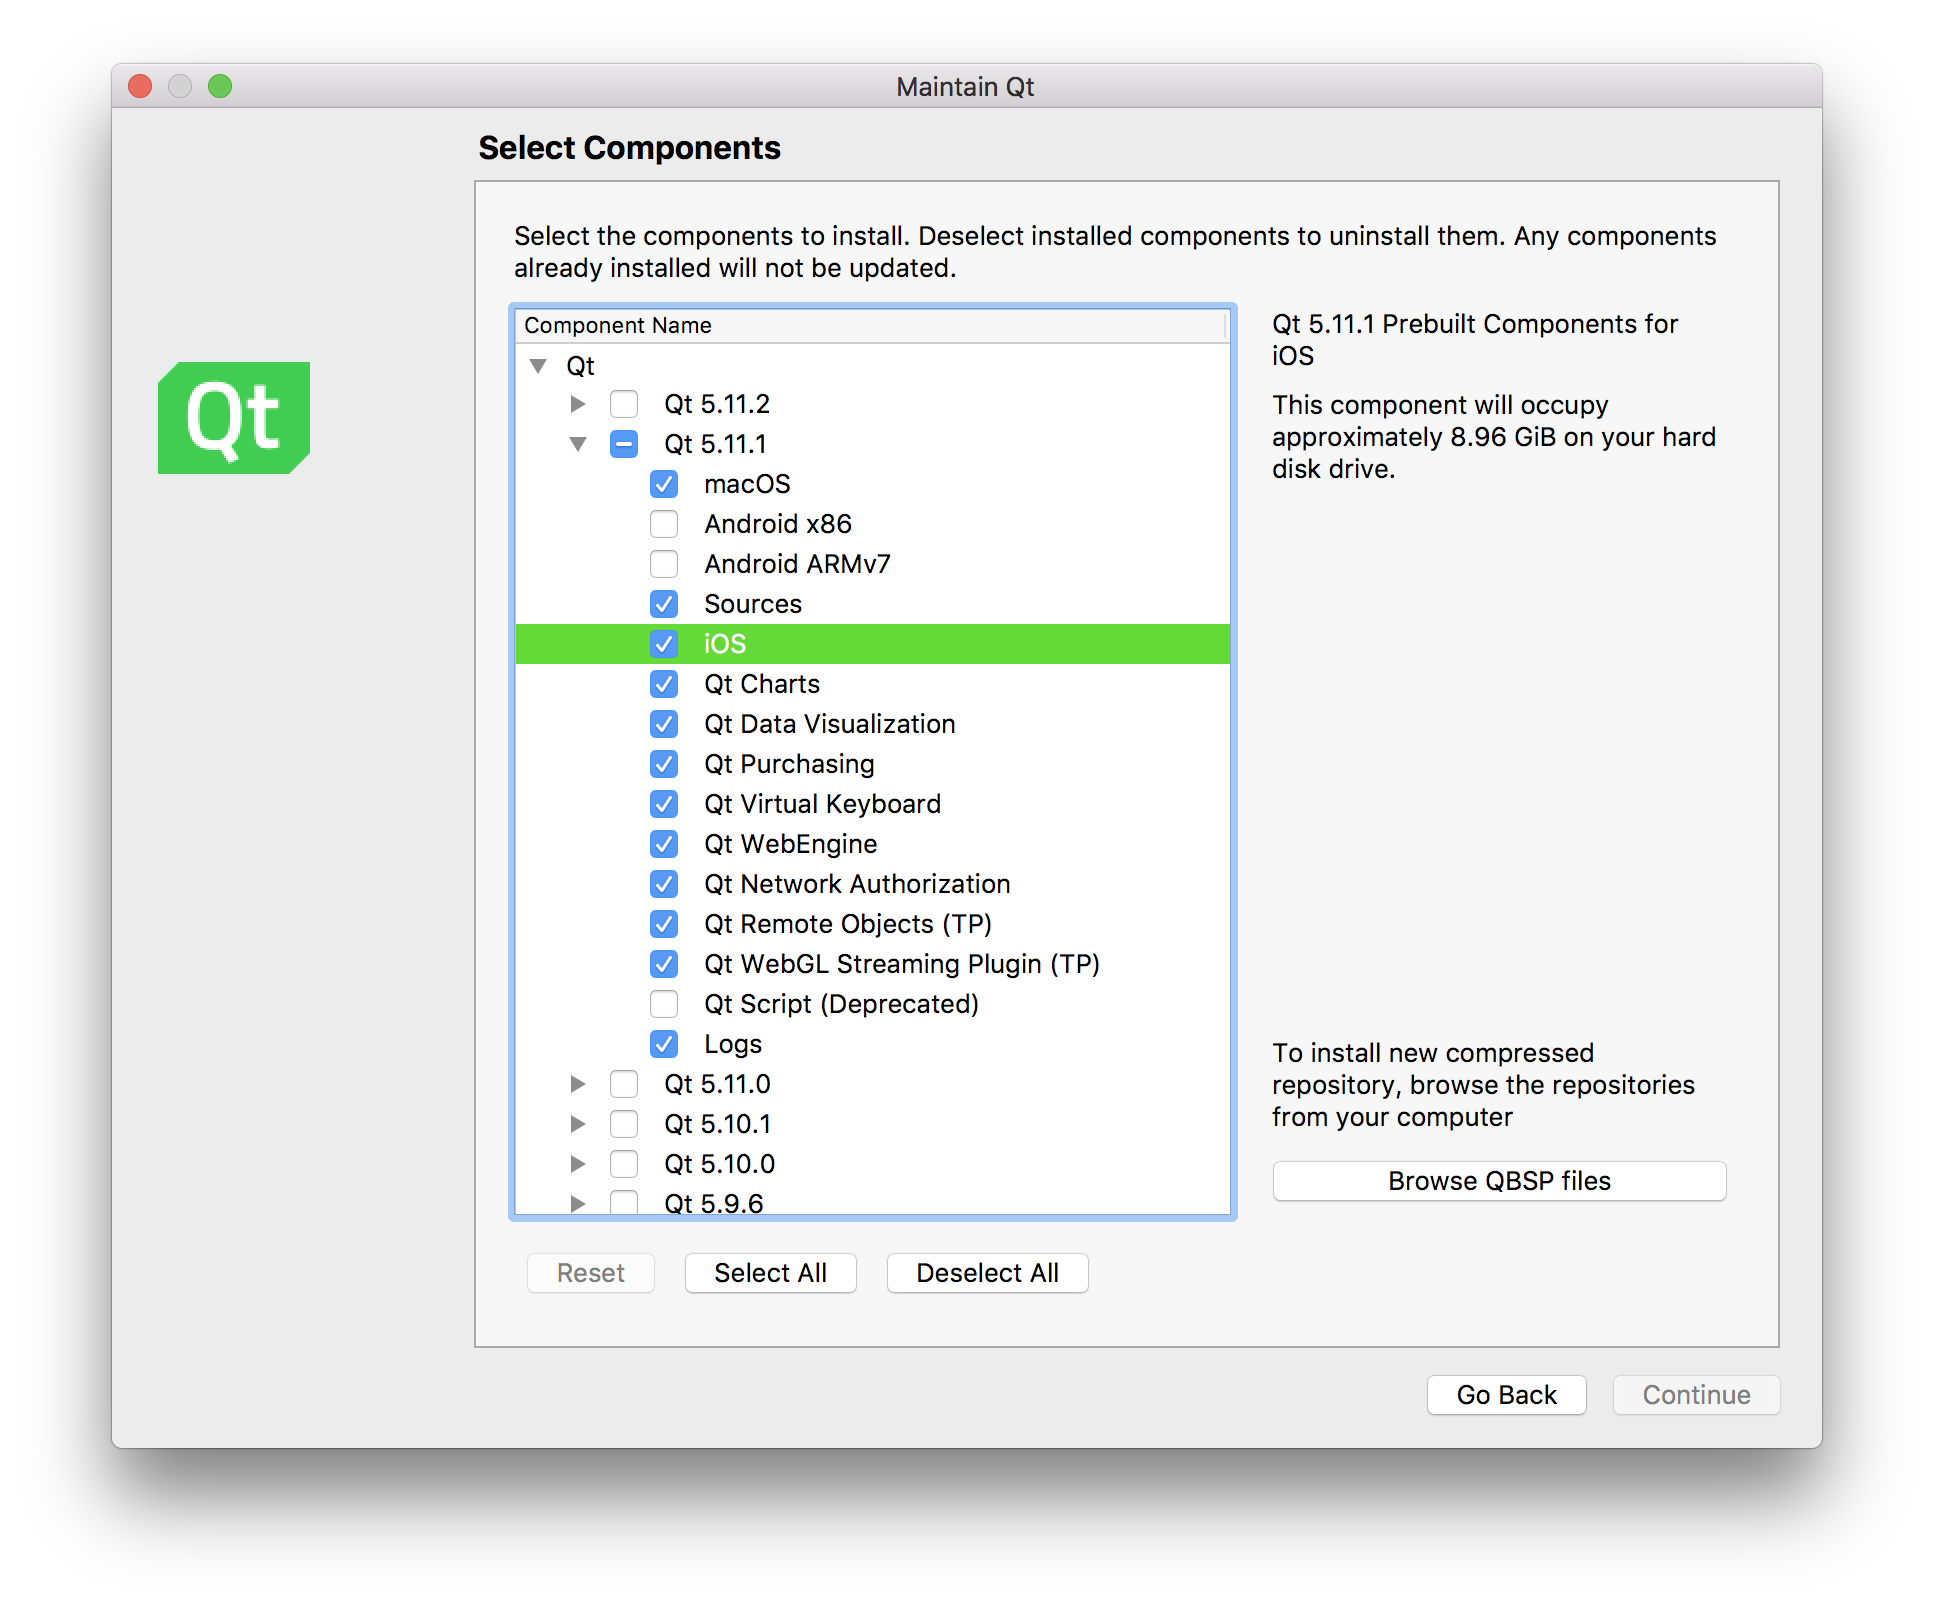
And then install iOS component from the Qt installer:
Done.
How to build apps
Add iOS kit to your project:

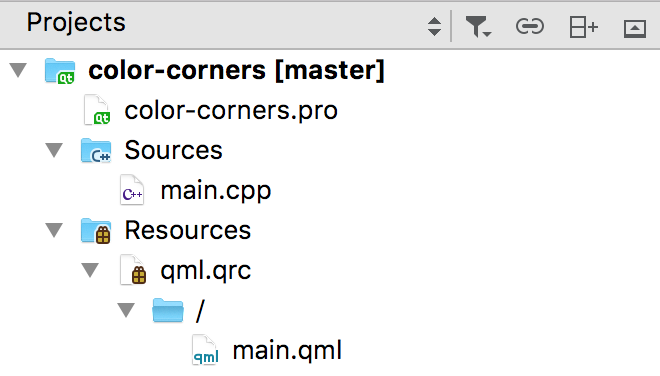
Yet again I took my favorite Color Corners example.
And here’s a bit of Qt Creator magic. That’s how project looks with desktop kit chosen:
Let’s switch iOS kit:
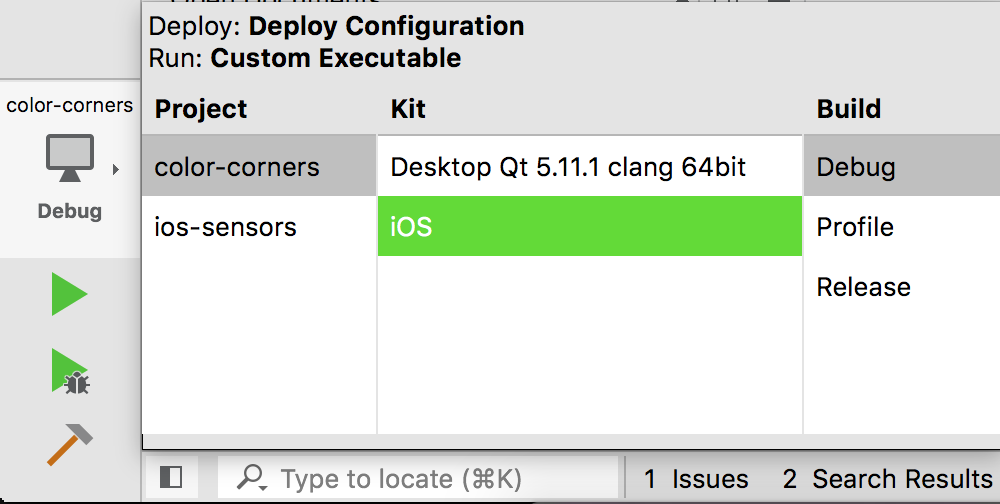
And voila:

Everything is fucking gone. Actually it’s still there, but it is not shown in the project tree for whatever reasons. Thank you, Qt Creator.
But okay, it doesn’t cause any serious problems, so let’s continue.
Build the project for iOS target and try to run it from Qt Creator. You’ll get the following window:
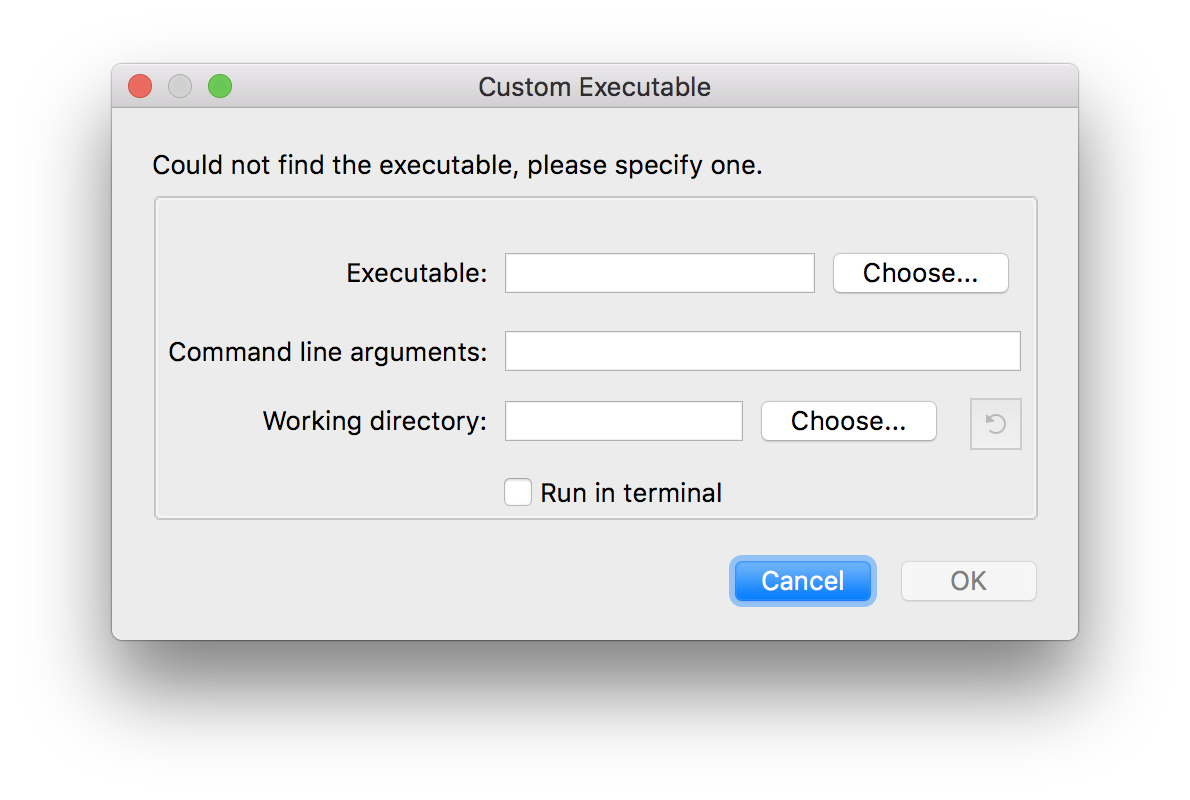
Seriously, what I am supposed to get from it?
And what’s happening here is Qt Creator not being able to run the application, because as an iOS app it doesn’t run on Mac OS. However, if you’ll go to the build directory, you’ll find the app bundle there and also Xcode project file:
build-color-corners-iOS-Debug/
├── Debug-iphonesimulator
│   └── color-corners.app
│       ├── Default-568h@2x.png
│       ├── Info.plist
│       ├── LaunchScreen.nib
│       ├── PkgInfo
│       ├── _CodeSignature
│       │   └── CodeResources
│       └── color-corners
├── Info.plist
├── Makefile
├── color-corners.xcodeproj
│   ├── Default-568h@2x.png
│   ├── LaunchScreen.xib
│   ├── project.pbxproj
│   ├── project.xcworkspace
│   │   └── xcshareddata
│   │       └── WorkspaceSettings.xcsettings
│   ├── qt_makeqmake.mak
│   ├── qt_preprocess.mak
│   └── xcshareddata
│       └── xcschemes
│           └── color-corners.xcscheme
├── color-corners_plugin_import.cpp
├── color-corners_qml_plugin_import.cpp
└── qrc_qml.cpp
By the way, simply running qmake (right-click on the project in Qt Creator) is enough to generate Xcode project. And if you open it, Xcode will launch:
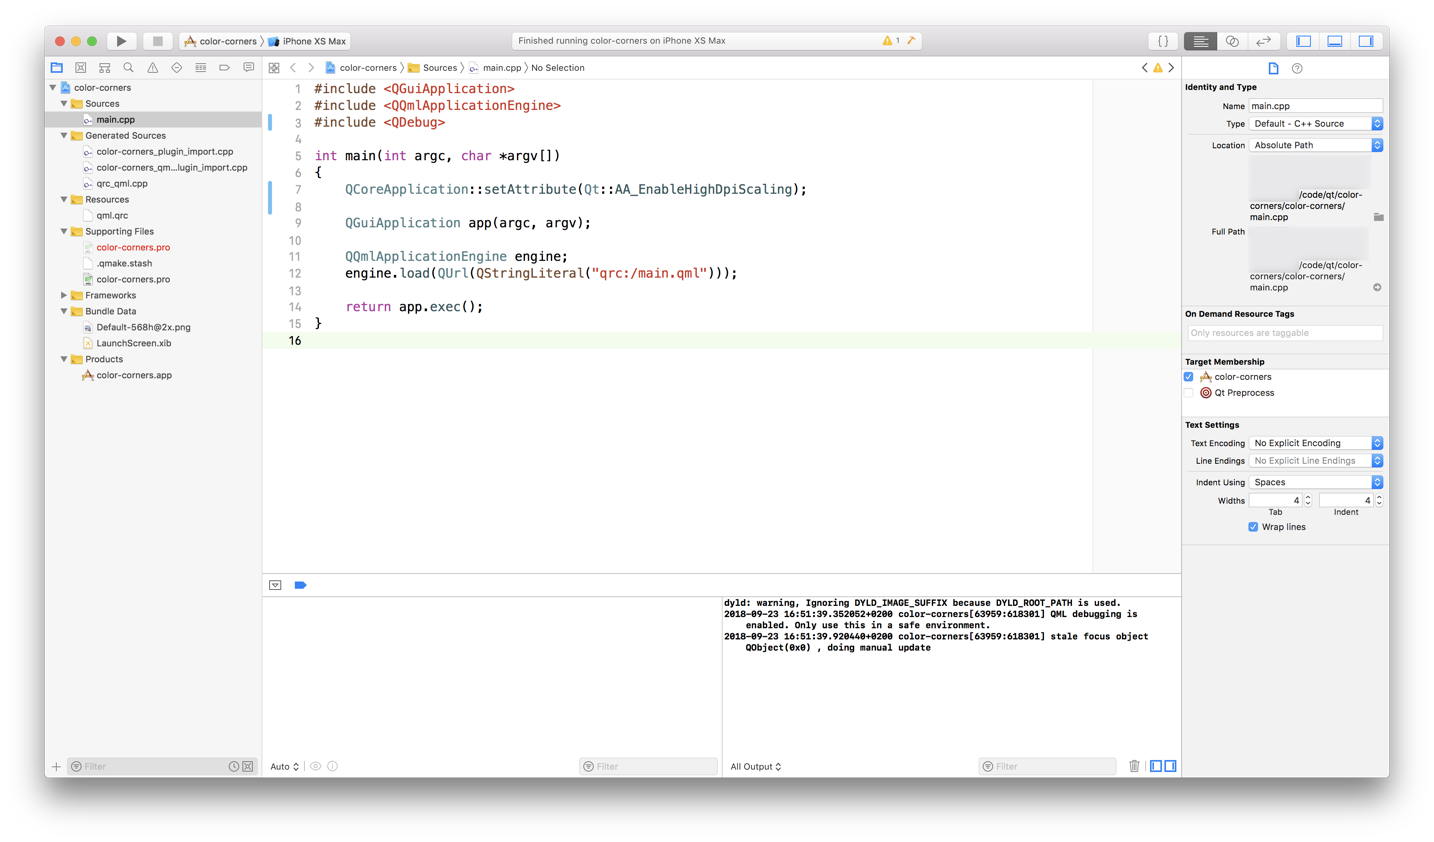
You can build and run the project either in Simulator or on actual iOS device.
And you can modify C++ code right there in Xcode, no need to do that in Qt Creator and re-generate the Xcode project file. But note two things here:
- After every modification in source code, you have to perform Product->Clean and Product->Build operations;
- You cannot modify QML code in Xcode as it is translated into unreadable C++, so you’ll have to do that in Qt Creator and re-run
qmake. Although, you won’t need to reload the project in Xcode as it reloads modified files automatically.
Deploying to iOS
First of all, good news - you don’t have to pay 99 USD annually for Apple Developer Program in order to be able to run applications on your iOS device. But even if Apple didn’t allow it, you would still be able to run your apps in Simulator.
Simulator
So let’s start with Simulator:
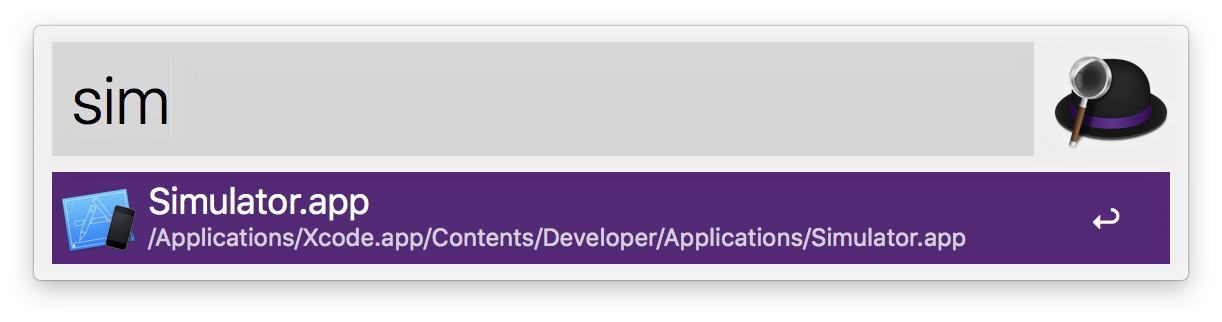
It can be controlled from console, which is quite handy as you don’t need to launch Xcode. To install and run your application, execute the following (having launched the Simulator):
xcrun simctl install booted build-color-corners-iOS-Debug/Debug-iphonesimulator/color-corners.app
xcrun simctl launch booted qt.work.color-corners
The value qt.work.color-corners is the bundle ID of your application. It can be found in color-corners.app/Info.plist file.
Here’s a video of how launching apps in Simulator looks like (I am running console commands in the background):
If video doesn’t play in your browser, you can download it here.
Actual iOS device
I have iPhone 7 and iPad Air, both running iOS 12:
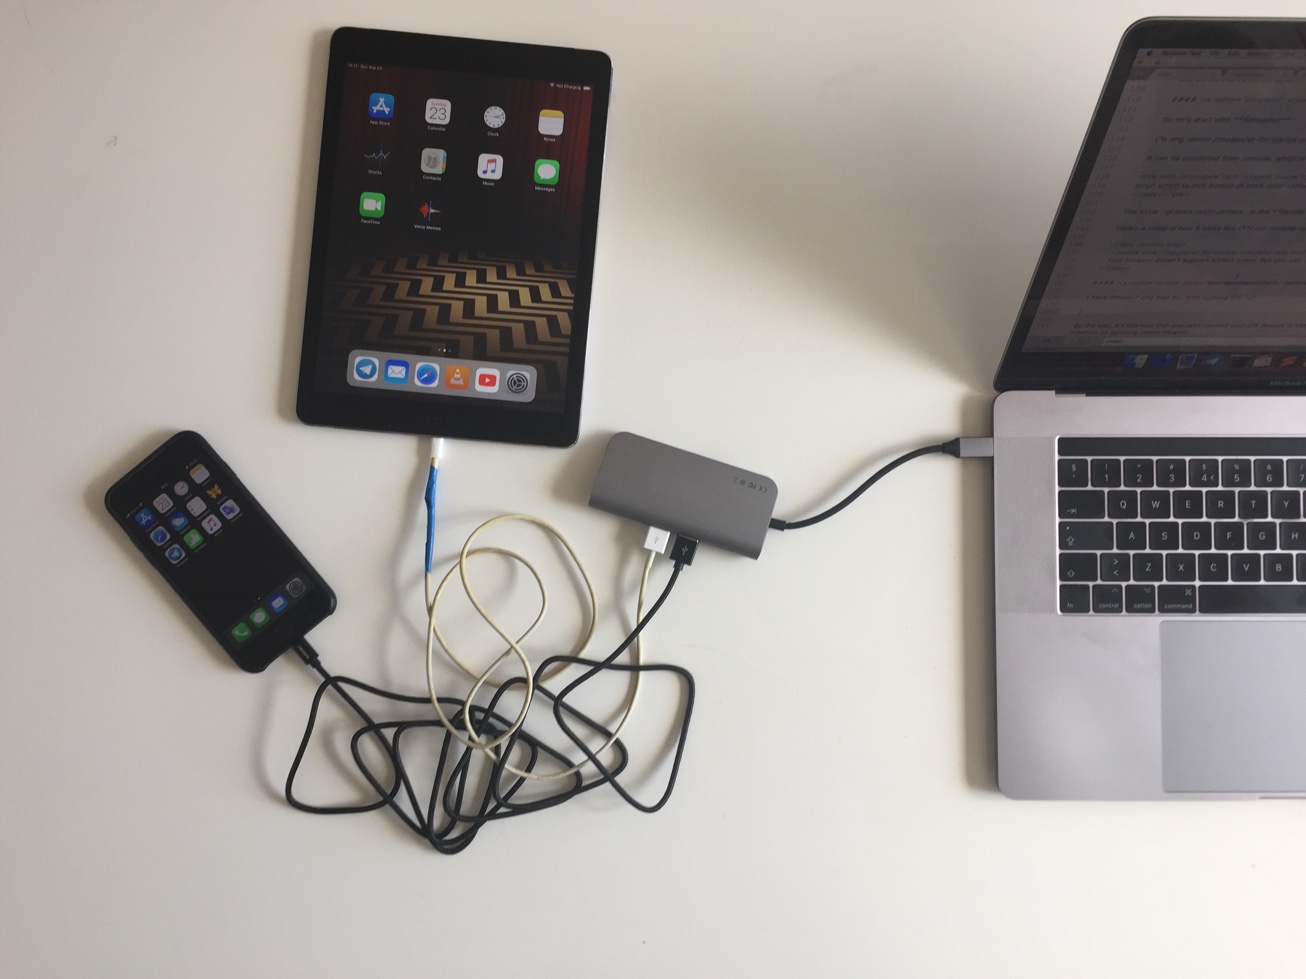
By the way, it’s hilarious how you can’t connect your iOS devices to the latest MacBook Pro without using some 3rd-party adapter. But I guess not as hilarious as Lightning cables lifespan.
I don’t know if it is possible to deploy to connected iOS devices using console too, so I did it from Xcode.
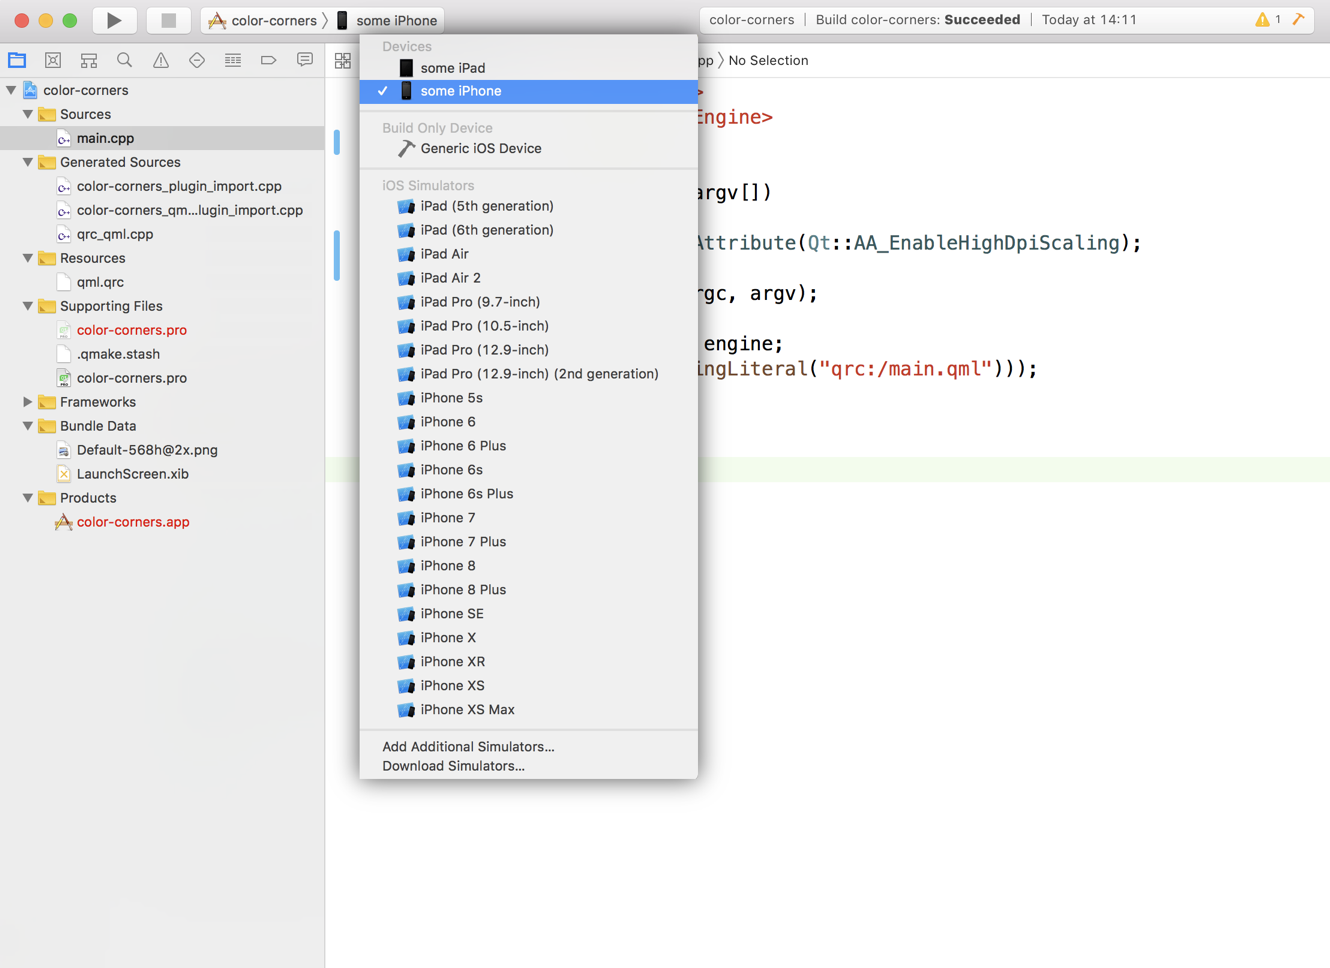
Choose a device to deploy to:
And run the application (Clean and Run). It will build and install the app to the target, however it won’t launch it, showing you the following message:
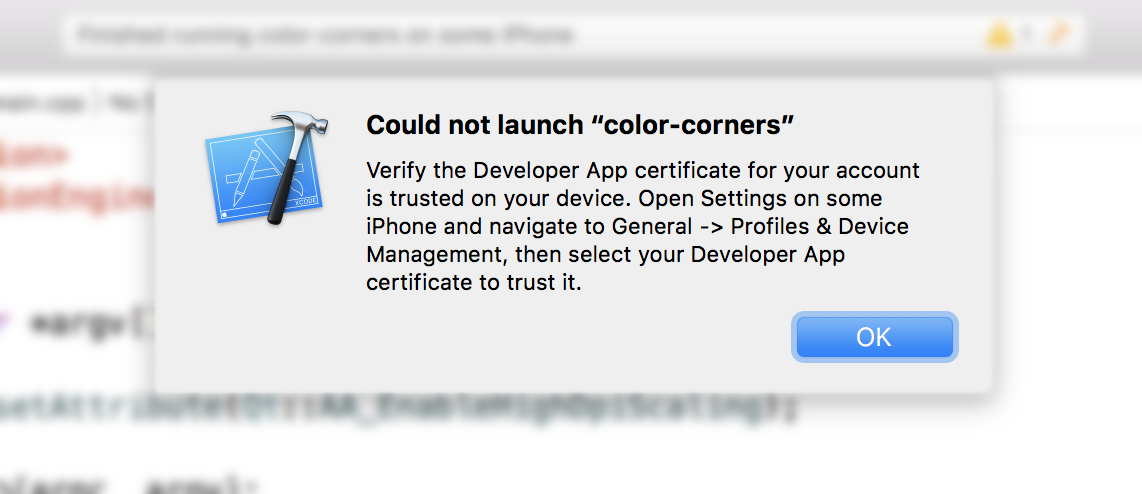
It tells you to go to iOS settings on the device and add your developer certificate to trusted ones:
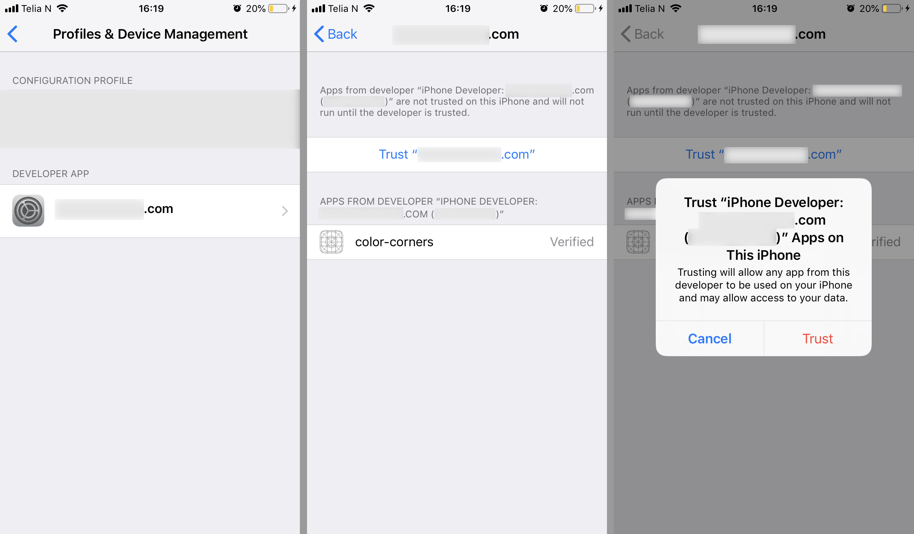
After that you can launch your application:

Nice.
Working with sensors
As a bonus, I want to briefly introduce the Qt Sensors API to you.
Every sensor has reading property, which sends readingChanged signal when there is some new data to read.
Different devices and platforms have different set of sensors available. Here’s a Compatibility Map for all of them. Use it as a starting point, but always check if particular sensor is really supported, because at the moment, for instance, Ambient Light Sensor marked as supported on iOS but actually it is not.
Each sensor has its own reading type. Let’s take OrientationSensor. It’s reading type is QOrientationReading, and here’s how to work with it in QML:
OrientationSensor {
    id: sensor_orientation
    active: true
    onReadingChanged: {
        console.log("orientation: ", reading.orientation);
    }
}
Super easy, innit.
I’ve created the following demo: every time iPhone orientation changes, application background changes its color and also text label shows current reading from the sensor:
If video doesn’t play in your browser, you can download it here.
I did a screen recording, so naturally you cannot see me rotating the phone, but you get the idea.