Resizing images with ImageMagick vs sips
For quite a some time I was using sips from standard Mac OS bundle to resize (mostly scale down) images. But I always had some suspicions about its results quality, so I decided to compare it with ImageMagick.
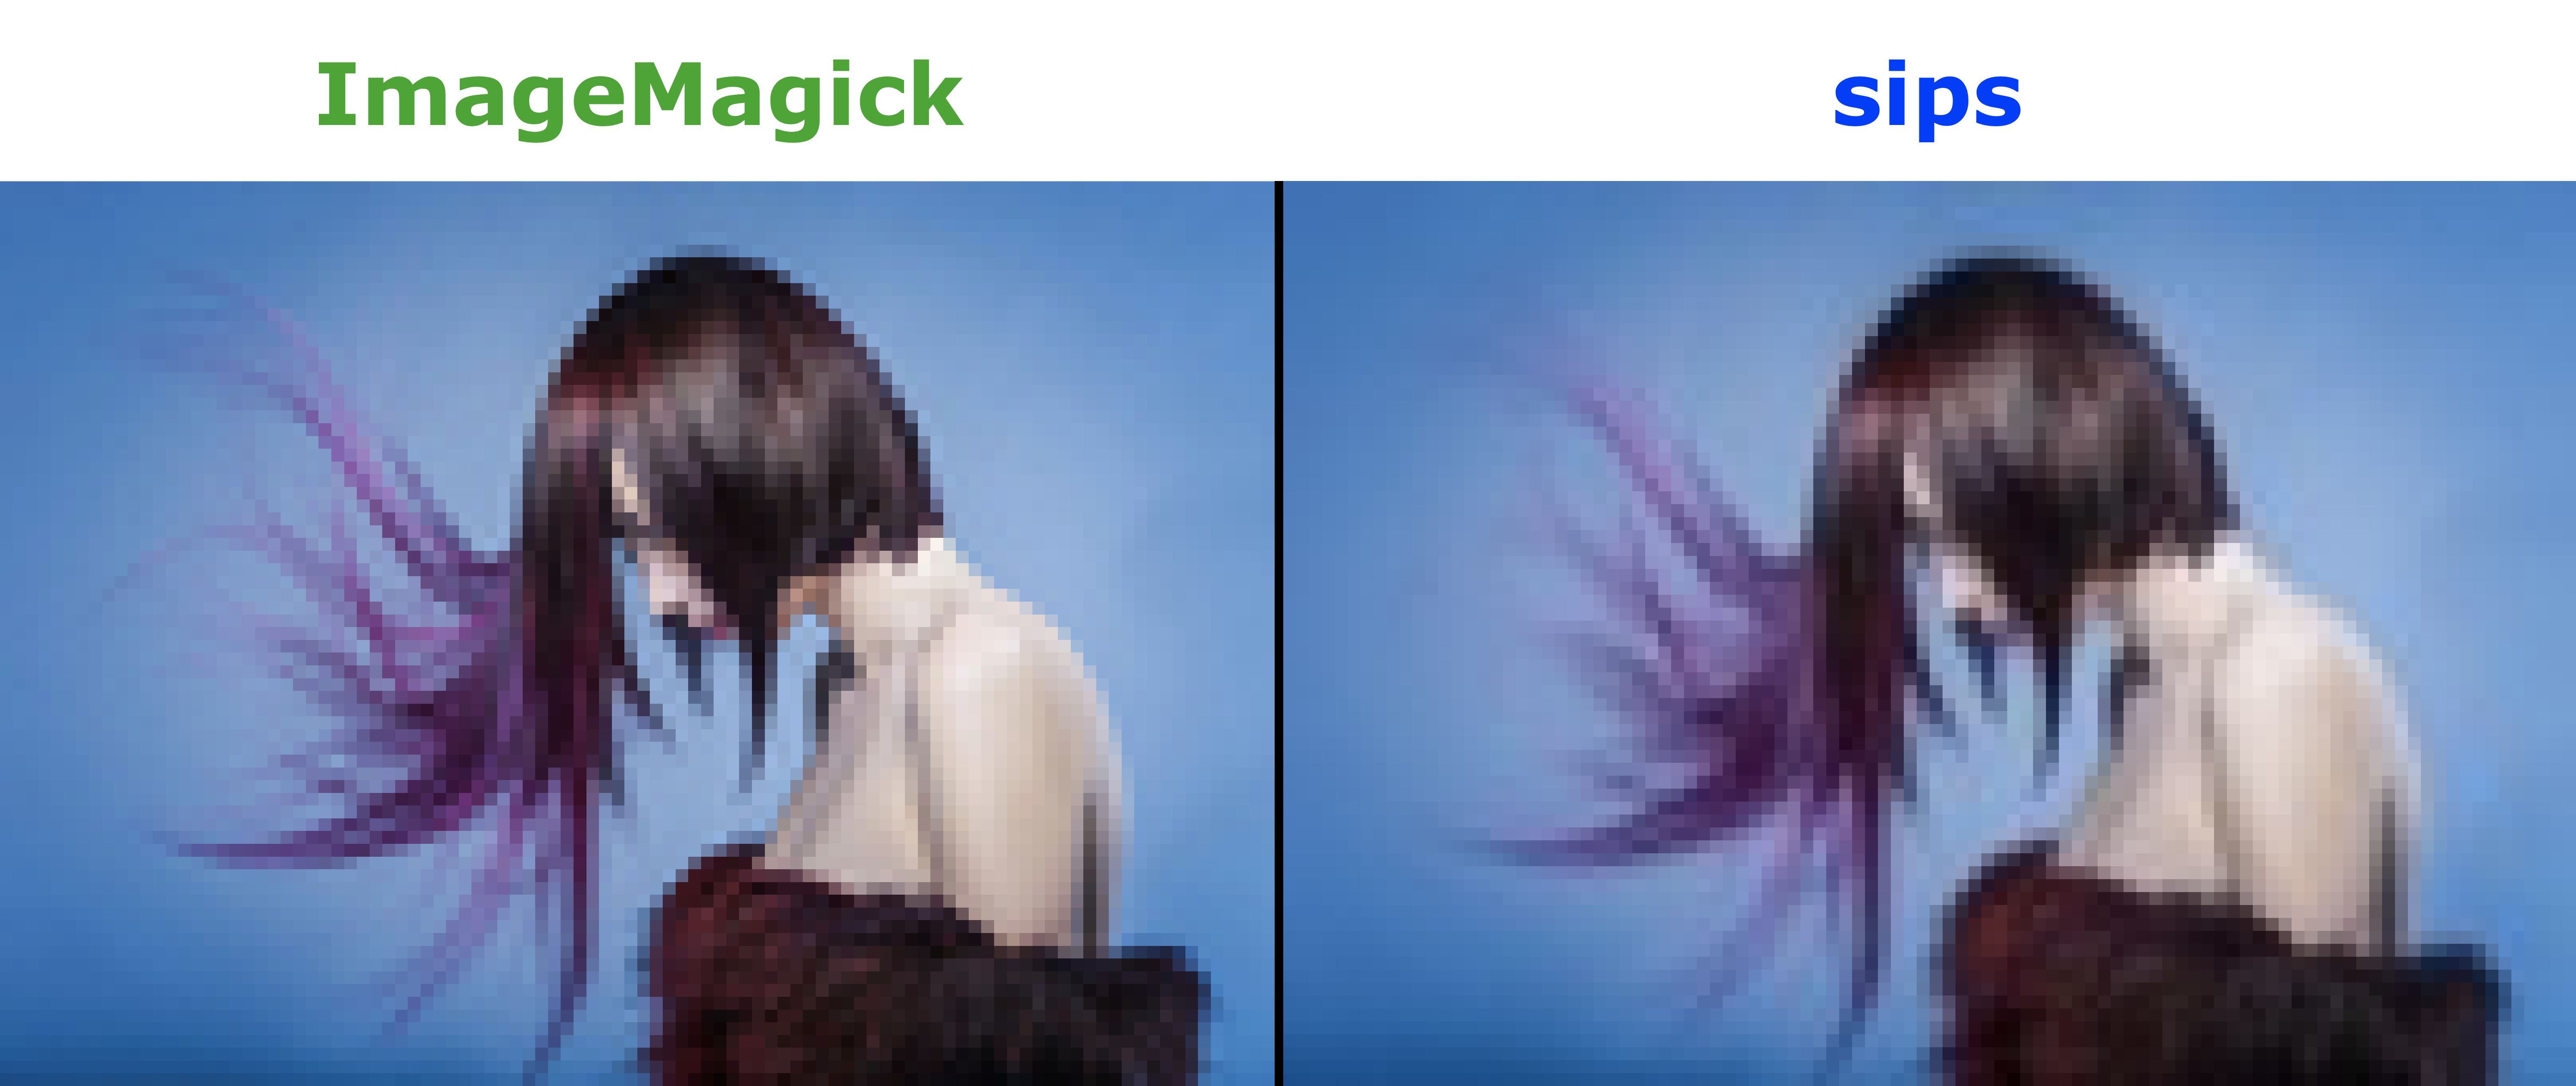
The figure above shows results of an image being scaled down to 100px width using both tools, and as you can see, ImageMagick conversion quality is better.
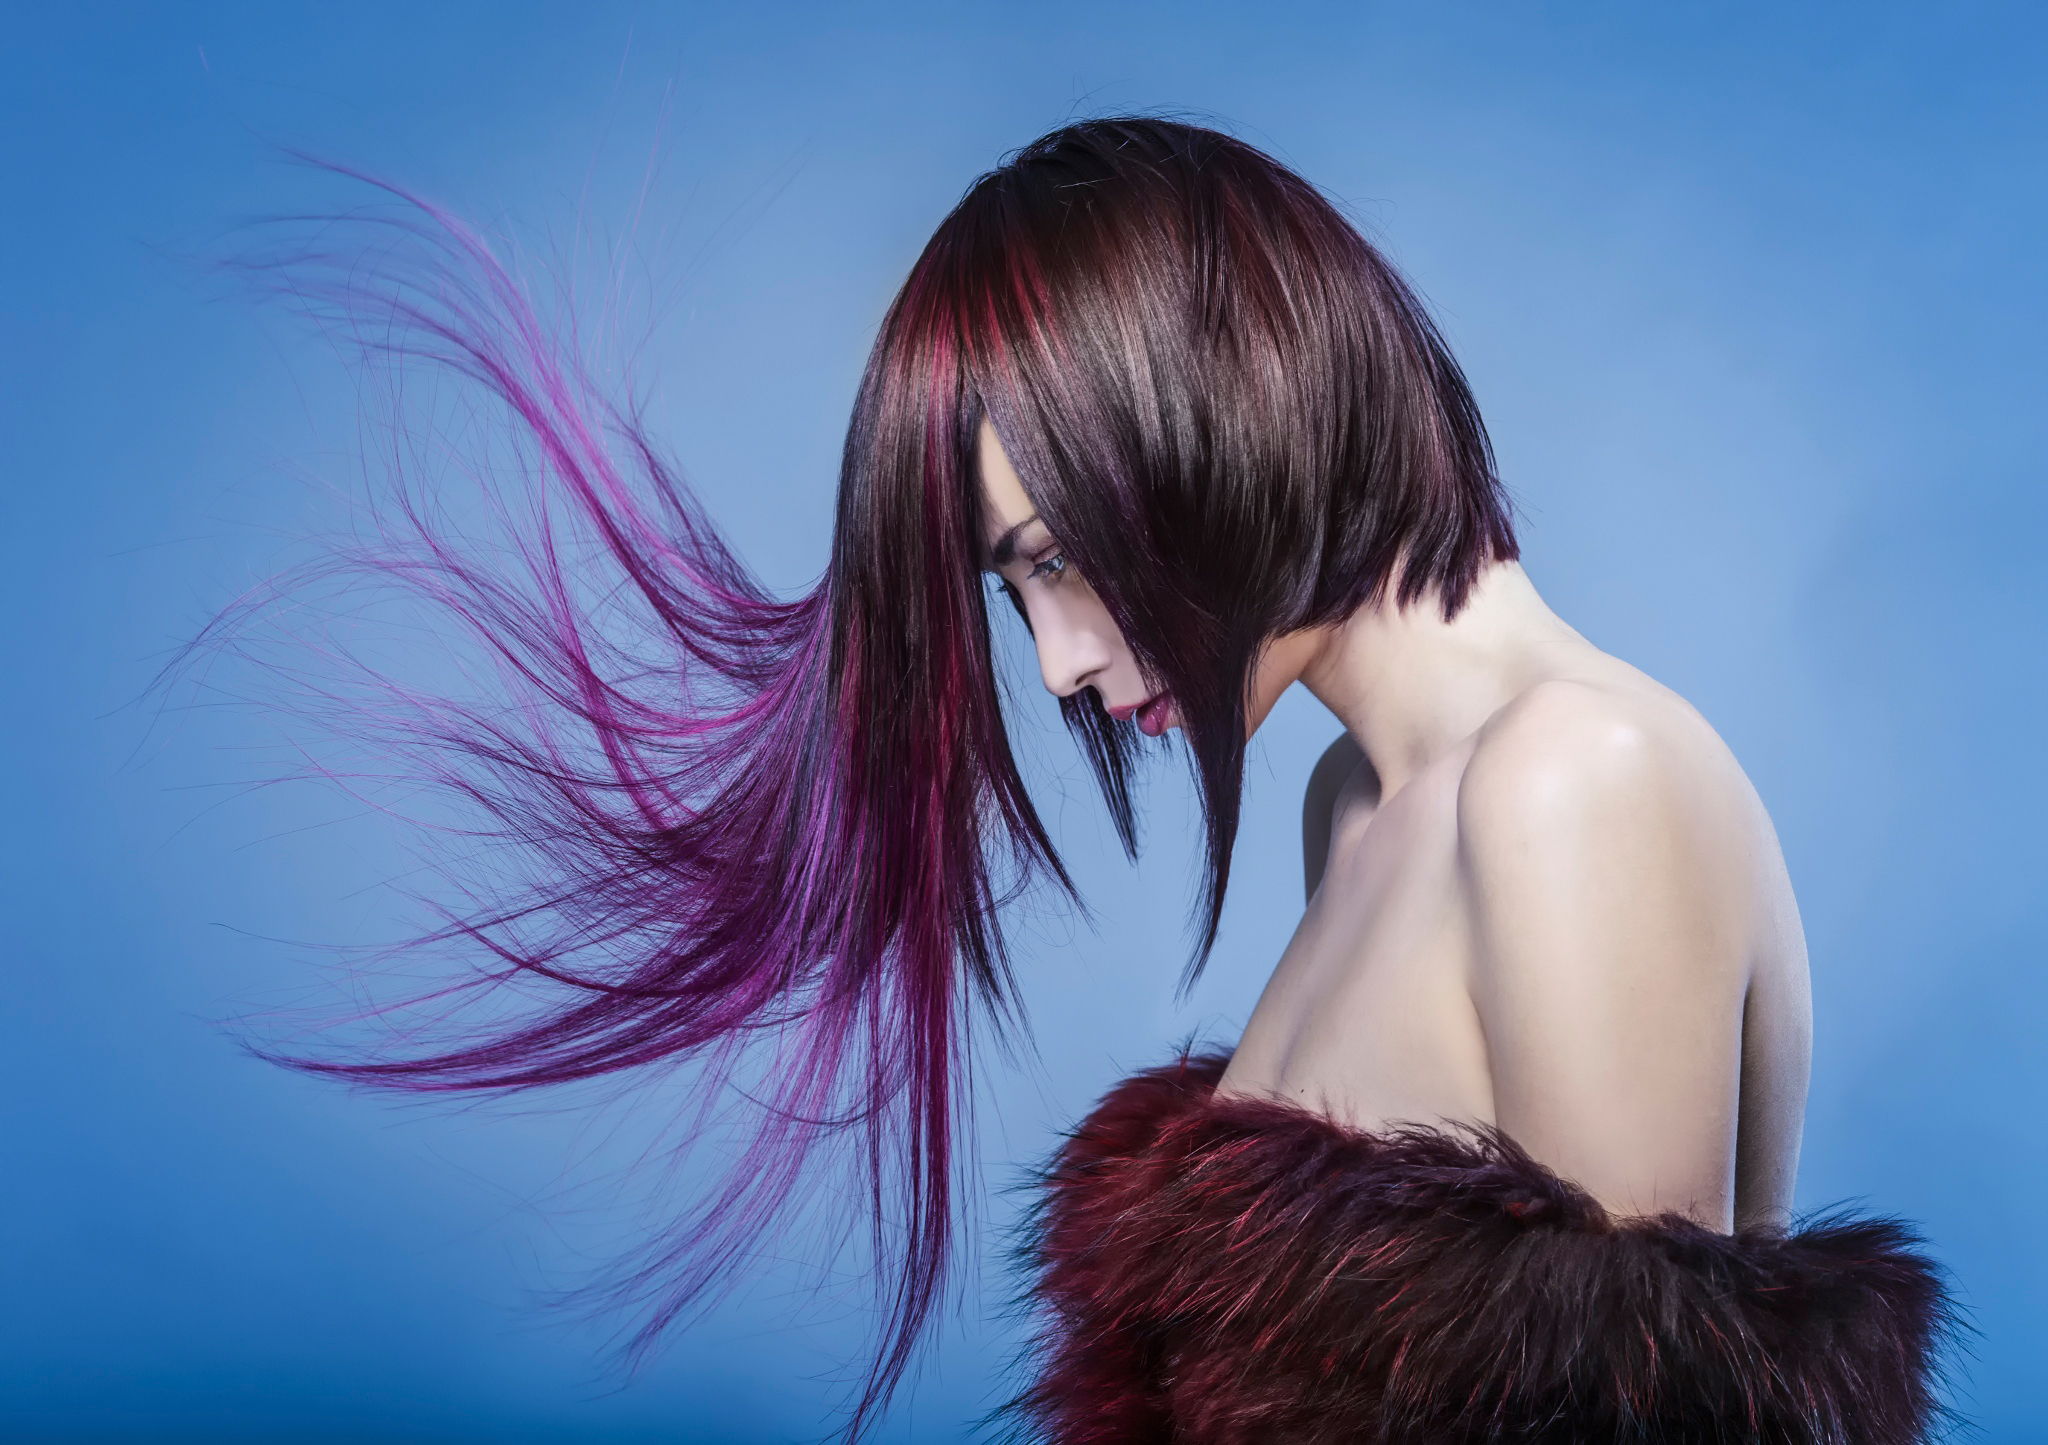
Here’s the original image, if you would like to reproduce the comparison yourself.
ImageMagick
You need to install ImageMagick first:
$ brew install imagemagickResize the image to 300px width (result):
$ magick convert girl.jpg -resize 300 magick-300.jpgResize the image to 100px width (result):
$ magick convert girl.jpg -resize 100 magick-100.jpgAs you might have noticed, ImageMagick does not respect the long options naming convention (--), and it fills my heart with sorrow.
sips
Like I said, sips comes as a part of the standard set of utilities in Mac OS, so you don’t need to install it separately.
Resize the image to 300px width (result):
$ sips --resampleWidth 300 girl.jpg --out sips-300.jpgResize the image to 100px width (result):
$ sips --resampleWidth 100 girl.jpg --out sips-100.jpgYou can also use -Z option instead of --resampleWidth, but it resizes images by their biggest dimension, so if you have an image with portrait orientation, it will get resized by its height.
So, two good things about sips:
- It is a default Mac OS utility and is available right away;
- It does respect long options naming convention.
But the actual conversion quality is better with ImageMagick.


