How to manually upload VIVE VR screenshots to Steam
I was playing Half-Life: Alyx and wanted to take some screenshots. To my surprise, standard F12 screenshot button did nothing, so I had to use the screenshotting functionality from the HTC VIVE software. Annoying enough, screenshots made this way do not end up in Steam Screenshot Uploader, so I’ve spent quite some time till I found how can I add them there manually.
Essentially, the process consists of cropping half of VR screenshots, sorting them by setting their modification timestamp attribute and placing them to the right folder.
Half-Life: Alyx is a tremendously amazing game, and I am telling you, it will be the point that separates VR into “before” and “after”. Before Alyx I didn’t consider VR for anything serious, to me it was something like mobile gaming - a very silly and slightly entertaining thing, but now it is clear to me that VR is the future.
One thing (of many) that impressed me in the game was that while you are limited in the amount of stuff you can carry in your pockets, nobody stops you from putting stuff into a crate (or a bucket) and drag that with you. Literally, you take a crate with both hands and you just carry it! I’ve been filling various containers with grenades, health syringes, access cards and other things and was carrying all that with me for the entire game length. And that is what I wanted to “document” with screenshots - how the contents of my containers were changing while I was progressing through the game, how I had at some point to switch from crate to bucket, then to bare hands and so on.
Taking a screenshot
Steam Overlay and F12
I did enable Steam Overlay, and actually F12 was making some screenshots at first, but they were some weird 1x1 pixel ones, and then it stopped making any screenshots at all.
I am not quite sure why F12 did not work for me. I can see in the Steam gallery that people were able to upload “normal” screenshots just fine, although some of those are actually screenshots of a desktop mirror view. I could make regular PrtScn screenshots of desktop mirror view too, but sadly my PC is not powerful enough to handle both VR and mirror view at the same time.
Plus, taking screenshots like this is less convenient and often ruins the composition. So, unless you have someone to press keyboard buttons for you, triggering screenshot capture right from VR controller would be much better, especially when you are holding a crate full of grenades. Though I have a suspicion that it should possible to bind F12 action to some VR controller combination.
Either way, I couldn’t make Steam Overlay screenshots work in my VR.
VIVE Console
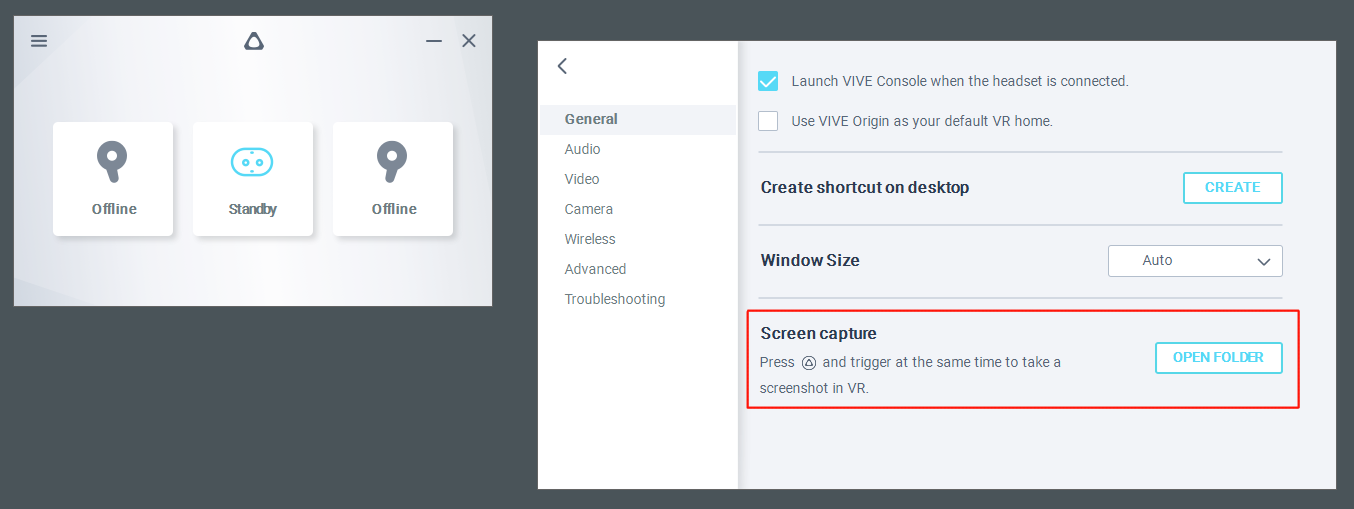
I was using HTC VIVE Cosmos headset, so my other option was VIVE Console screenshots. You can take those with right controller by pressing trigger and VIVE button. You can then open VIVE Console settings and find the folder with taken screenshots (C:\Users\YOUR-NAME\AppData\Roaming\HTC\Vive\Screenshot):
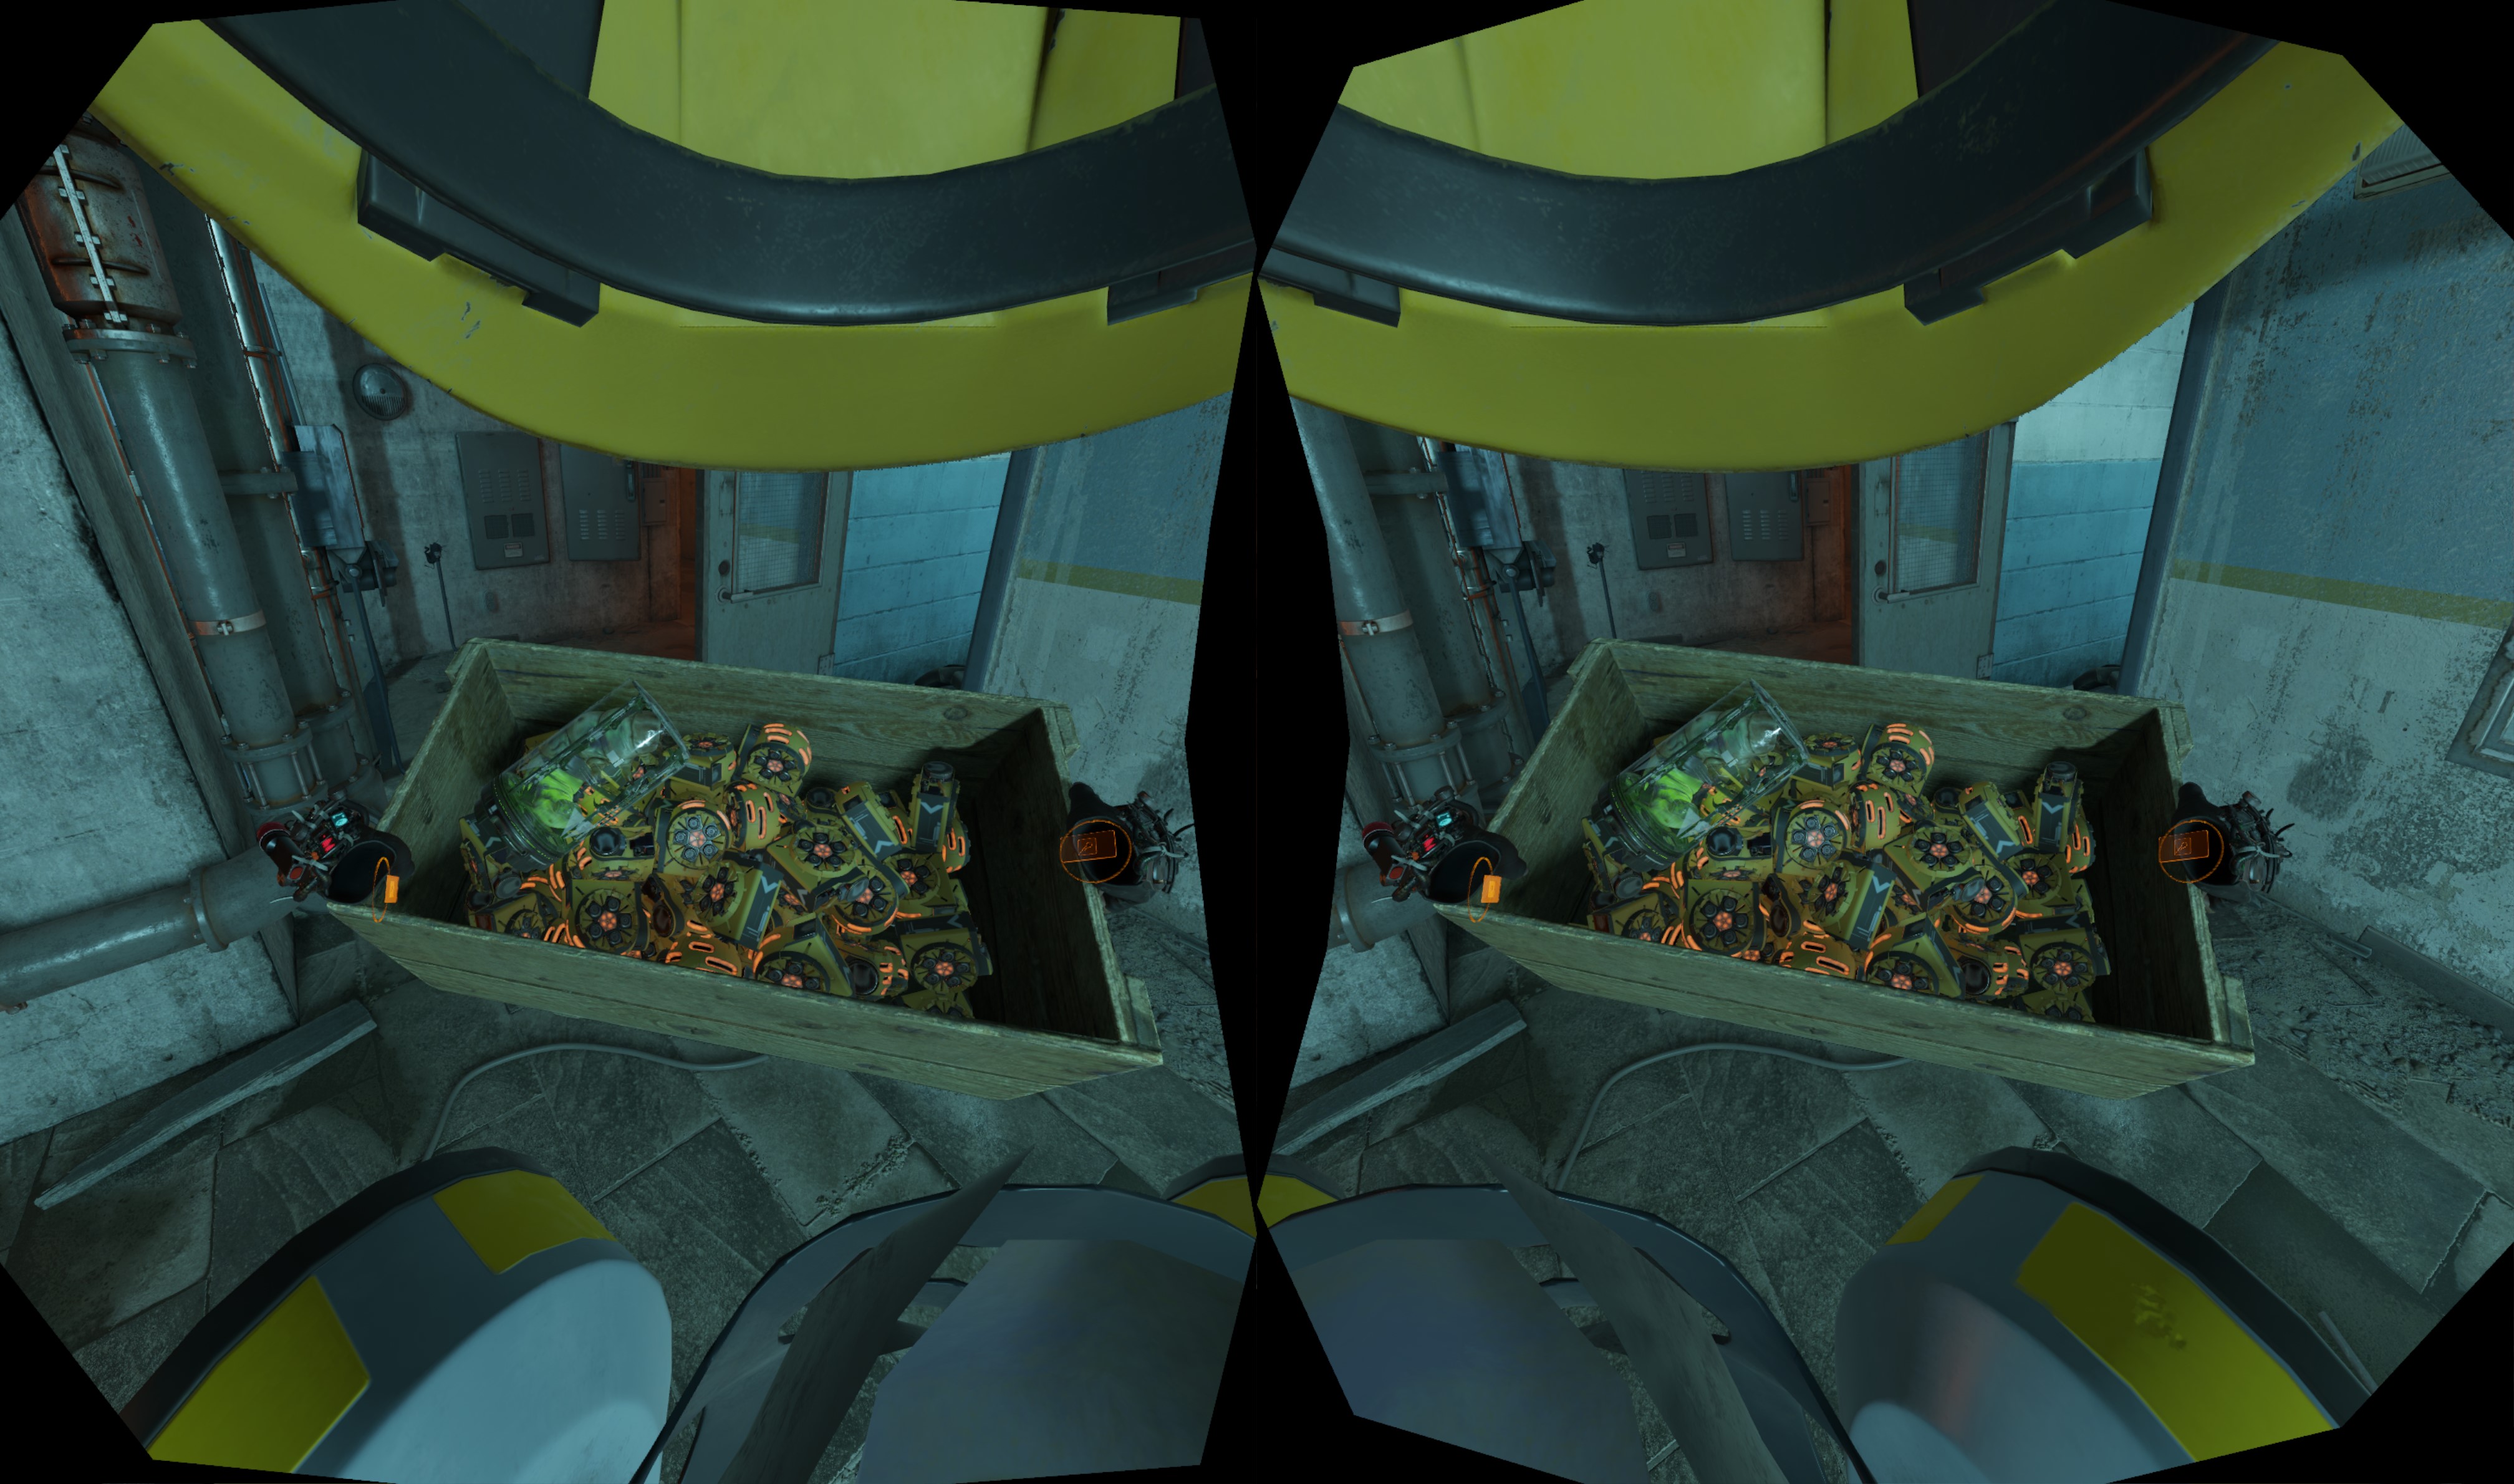
If you go to that folder, you’ll discover that for every screenshot it actually creates two files. One with [Undistort] prefix (4032x2380):
and another with [Final] prefix (2880x1700):
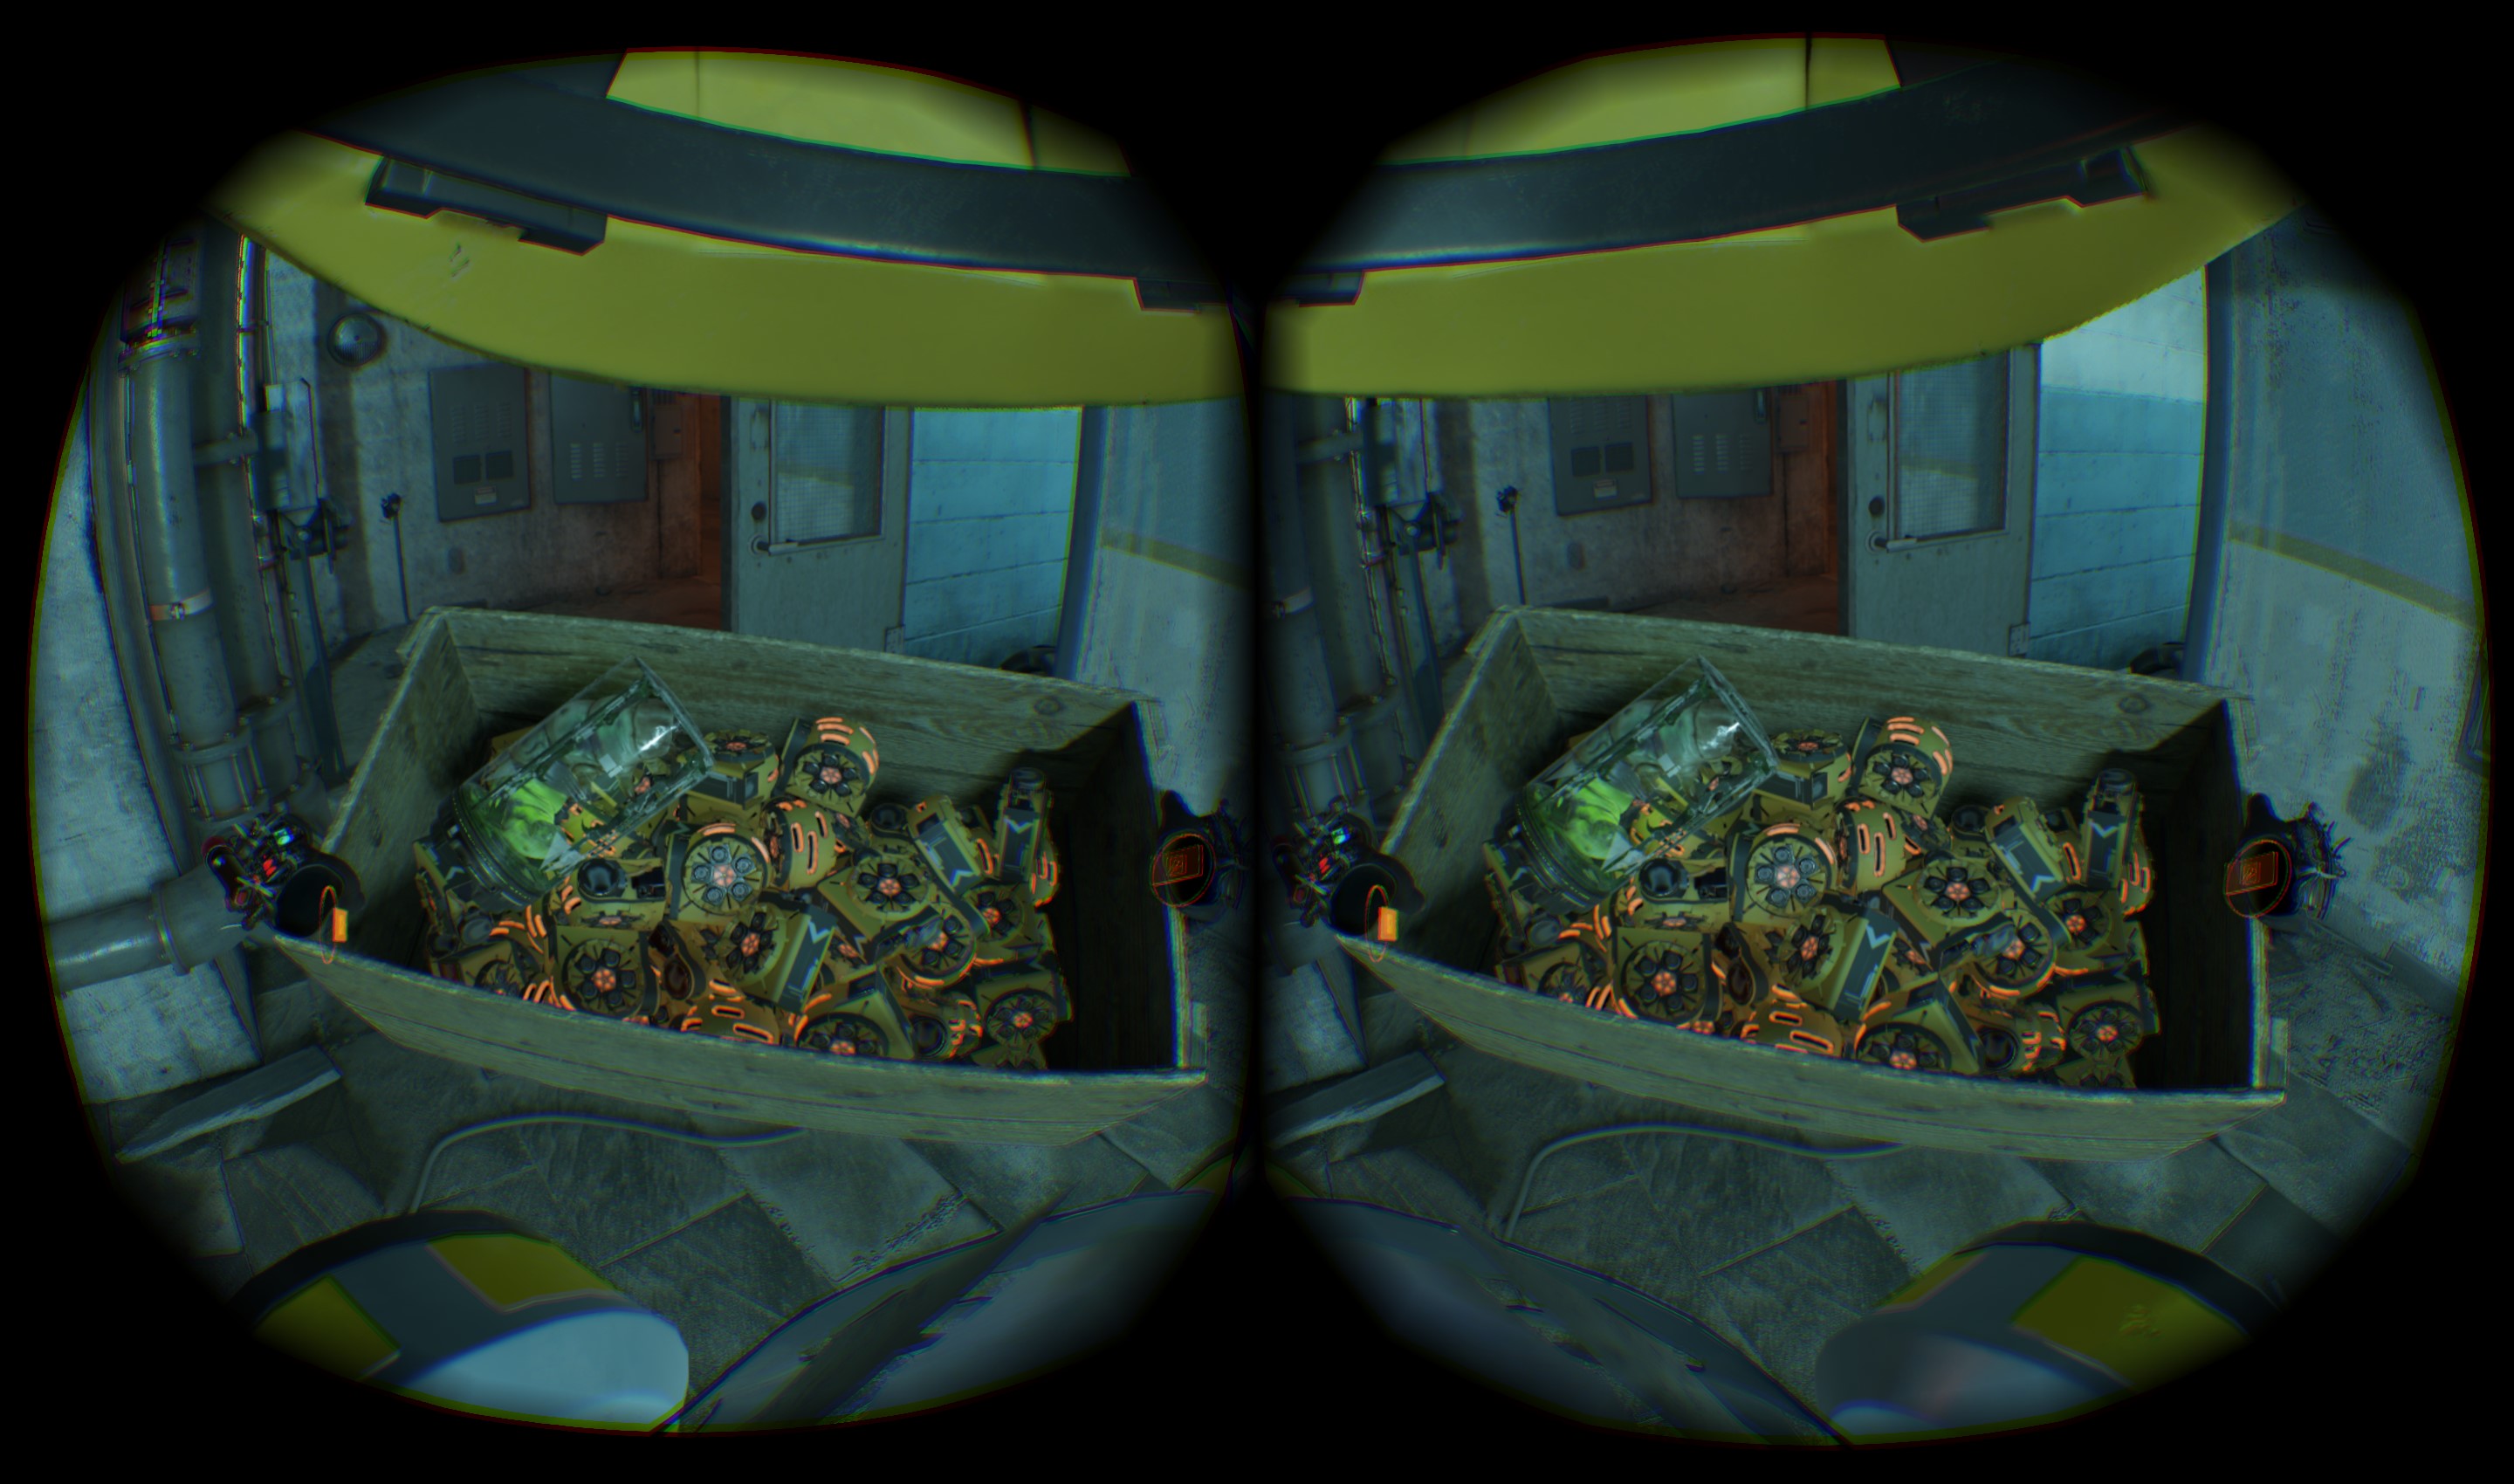
As you can see, while [Undistort] version has higher resolution, it also has ugly black borders. The [Final] version has those borders smoothed into a nice round shape, though it also has a lower resolution. I decided to use the latter.
Cropping half of the image pair
As you can also see, the screenshot is comprised by two views - one per eye. Obviously, we want to keep only one half, and I decided to keep the right one.
Now, it’s not difficult at all to crop an image with any graphics editor, but I had 45 screenshots, so I needed some tool that could do that automatically for a batch. And surely enough ImageMagick can do that. There are even several ways of doing so, and I went with the chop operator:
$ for f in ./*.jpg; do magick convert "$f" -chop 1440x0 "${f%.*}-chopped.jpg"; doneI hope you are using a proper shell, like Git BASH, and not the standard cmd.exe.
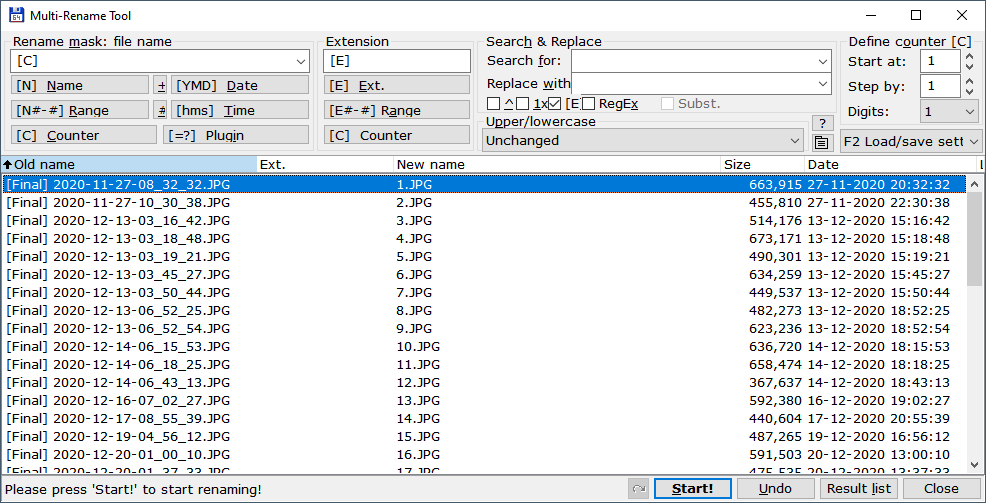
But before running that, I also decided to rename the screenshot files, as they contained spaces and brackets. Such a batch renaming can be done, for example, with the Multi-Rename Tool from Total Commander:
Uploading screenshots to Steam
You need to find the folder, where Steam looks for the game screenshots. In case of Half-Life: Alyx it’s this one: \path\to\Steam\userdata\ID\760\remote\546560\screenshots.
Shutdown Steam, copy your screenshots to that folder (perhaps also remove the -chopped suffix from their filenames) and launch Steam again. If you now open Steam Screenshot Uploader (View → Screenshots) and choose Half-Life: Alyx from the dropdown list, you will see your screenshots.
Maintaining the right order
…But likely their order/sorting will be not as you intended. I was naively hoping that Steam will use screenshot filenames order for sorting, but that is not the case. What it actually uses as the base for ordering/sorting is apparently the modification timestamp file attribute.
So I had to re-set this attribute for all the screenshots like this:
$ for f in `ls -v ./*.jpg`; do touch "$f" && sleep 1; doneThe sleep 1 is here to ensure 1 second difference in timestamps, otherwise Steam won’t be able to order them correctly, as it seemingly can operate only with seconds as the lowest unit.
If you check now your files attributes, you’ll see that it goes in ascending order:
$ stat 1.jpg
...
Modify: 2021-01-01 16:25:49.967159600 +0100
Change: 2021-01-01 16:25:49.966819800 +0100
...

$ stat 2.jpg
...
Modify: 2021-01-01 16:25:51.029268500 +0100
Change: 2021-01-01 16:25:51.028431900 +0100
...

$ stat 3.jpg
...
Modify: 2021-01-01 16:25:52.091553600 +0100
Change: 2021-01-01 16:25:52.091207400 +0100
...
By the way, every time you’d like to update screenshots which are somehow messed up, first delete them using Uploader interface (given that you made a copy somewhere else), shutdown Steam, do you fixing stuff and launch Steam again. If you won’t perform the deleting from Uploader, you can end up with old screenshot “ghosts” messing up with your new screenshots.
If you now open Steam Screenshot Uploader, the screenshots will be in the right order. Well, actually it will be reversed, but at least they will in a correctly sorted sequence. Why does it sort them in reverse - that I don’t know. Both names and modification timestamps point to an ascending order, and yet Steam sorts them in descending order. I could of course rename them and do touch operation in reverse, but that just doesn’t feel right, so I left it as it is.
Naming convention
…But if you now will try to upload your screenshots to Steam Cloud, you’ll get the following error:
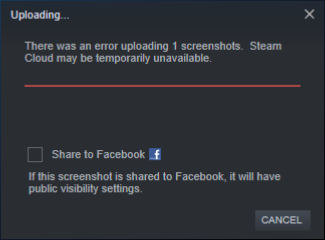
There was an error uploading 1 screenshots. Steam Cloud may be temporary unavailable.Most likely the reason is that you did not follow the naming convention.
Actually, it does not matter how you will name your screenshot files. There are a lot of guides out there saying about specific naming convention for Steam screenshots: for example, that they have to be in yyyyMMddhhmmss_1.jpg format, but actually it does not matter. In my case I just kept them as numbers (1.jpg, 2.jpg, 3.jpg, …).
What does matter though, is to have a copy (duplicate) of the screenshot file with _vr suffix in the name (has nothing to do with VR, just a coincidence). Yes, it doesn’t seem to make any sense and it does waste your disk space, but that’s how things are. So, in my case:
1.jpg1_vr.jpg2.jpg2_vr.jpg3.jpg3_vr.jpg- …
Some guides also mention generating thumbnails, but that is not needed either.
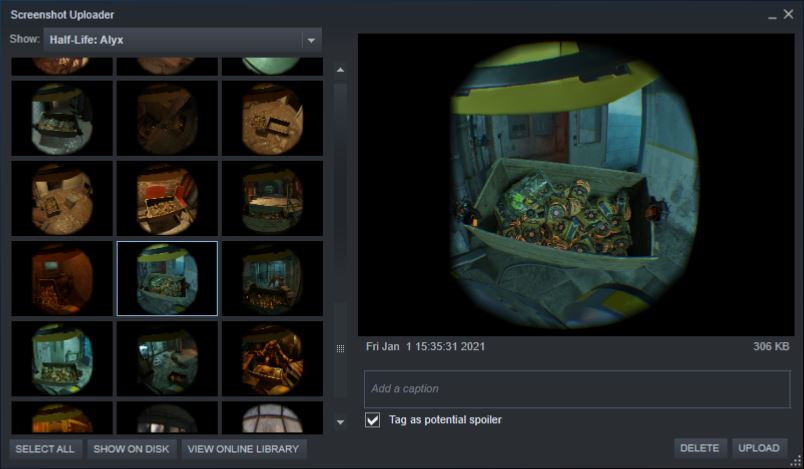
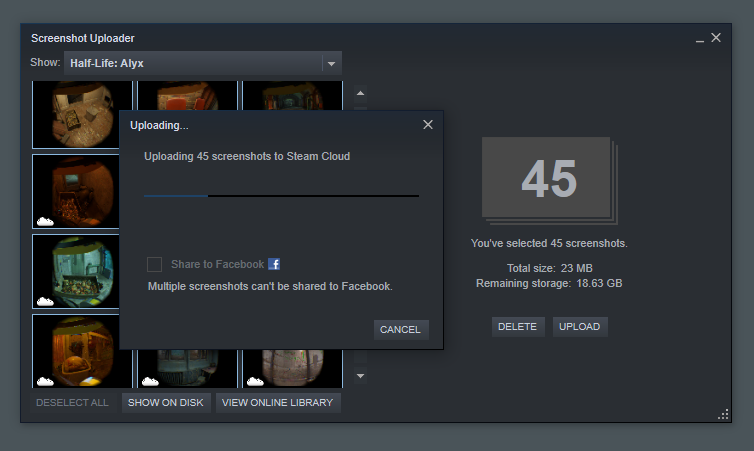
Restart Steam and open Steam Screenshot Uploader. Now you will be able to upload your screenshots:
After the uploading you will have them in your gallery, and there you can even sort them correctly:
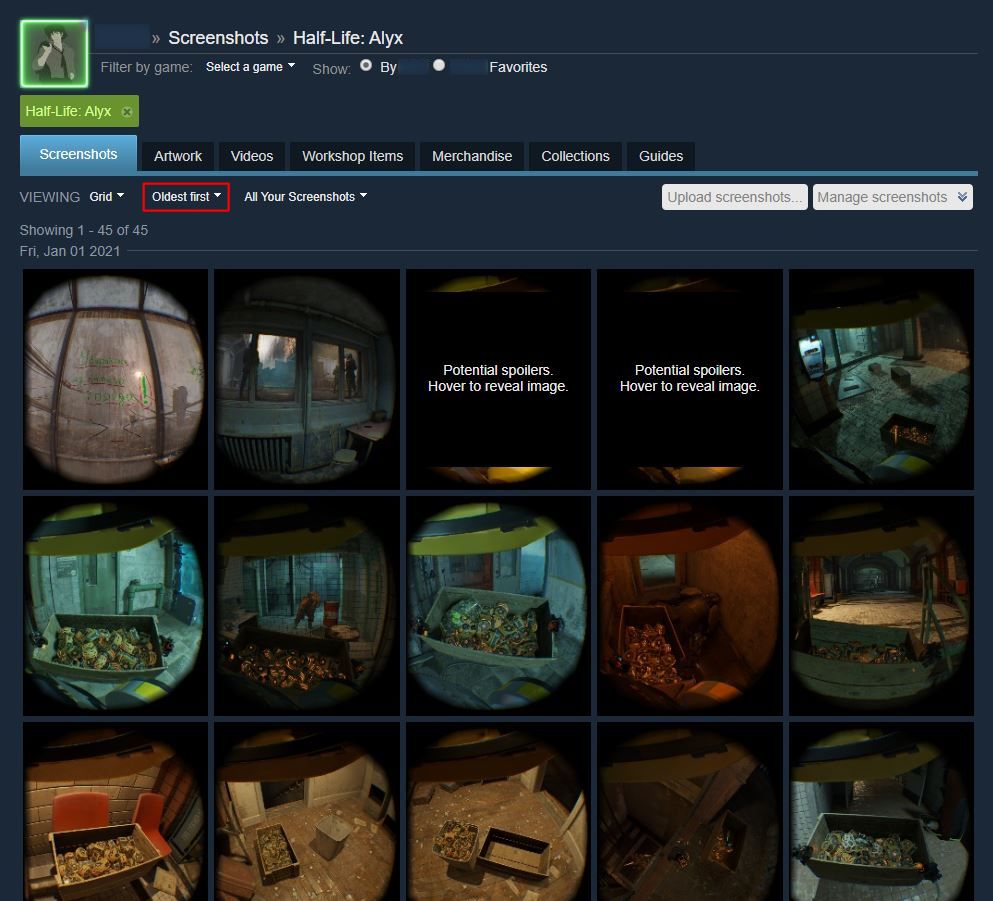
Too bad you can’t do that in the Activity feed as well.